This Biscoff Cheesecake recipe is one of our absolute favourites, and we’re so excited to share it!
We’ve kept it as simple as possible with just 7 ingredients, and you can decorate it as extravagantly as you like. Whatever you do, the result is an amazing no-bake Biscoff Cheesecake to enjoy.
Since we created this recipe, Biscoff seems to have become even more popular, particularly recipes involving Biscoff spread.
We’ve come across Biscoff Cheesecake in lots of cafes and restaurants now, but we’re going to be biased and say we still think ours is the best… no, really!
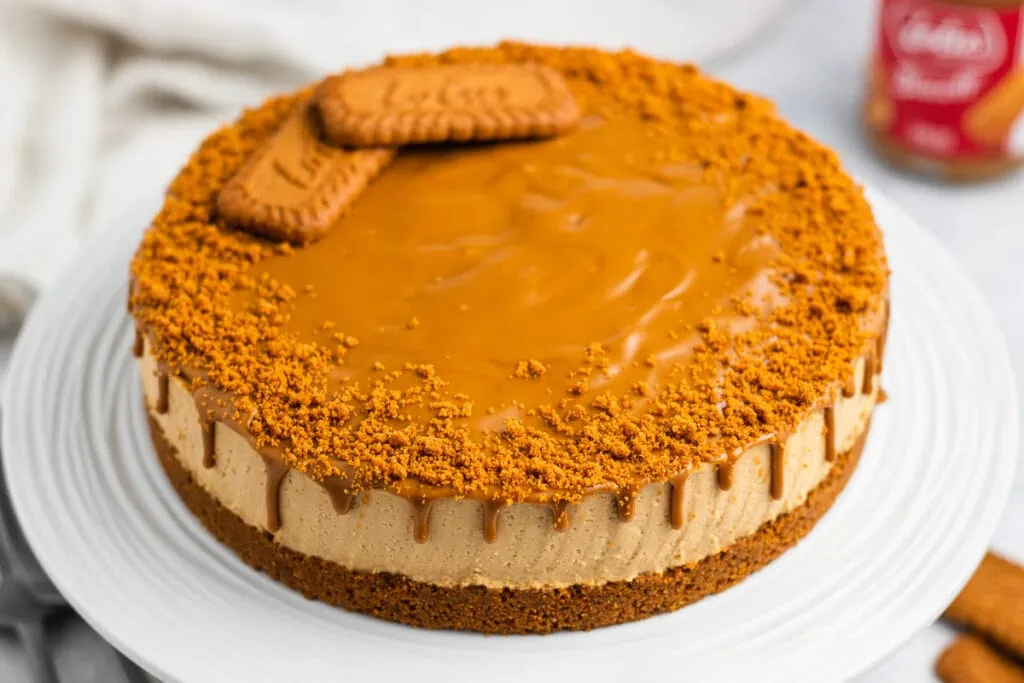
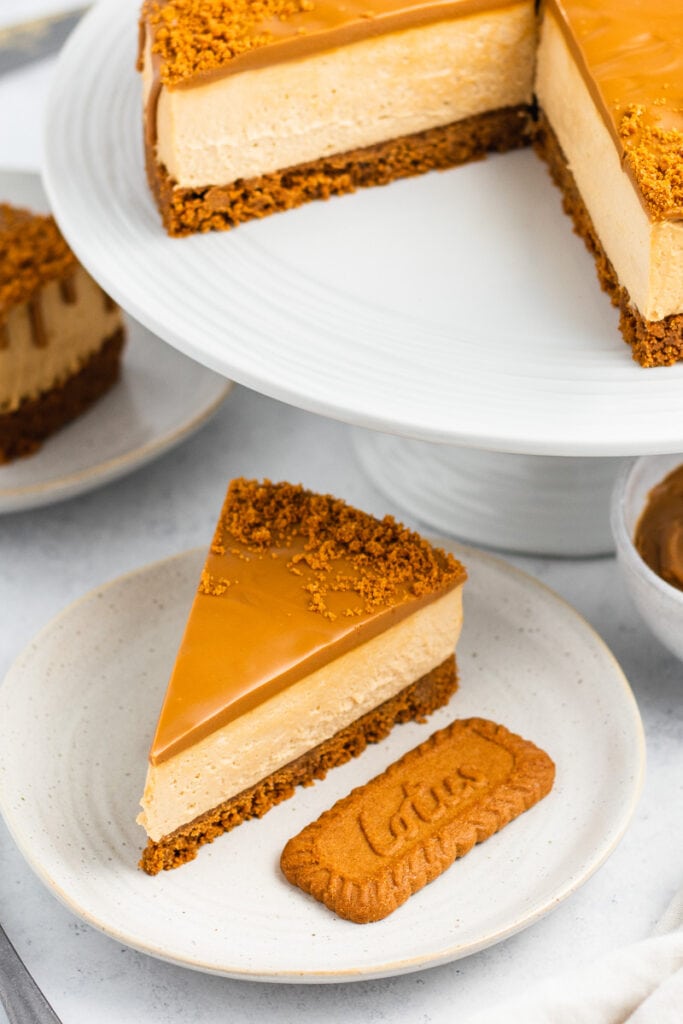
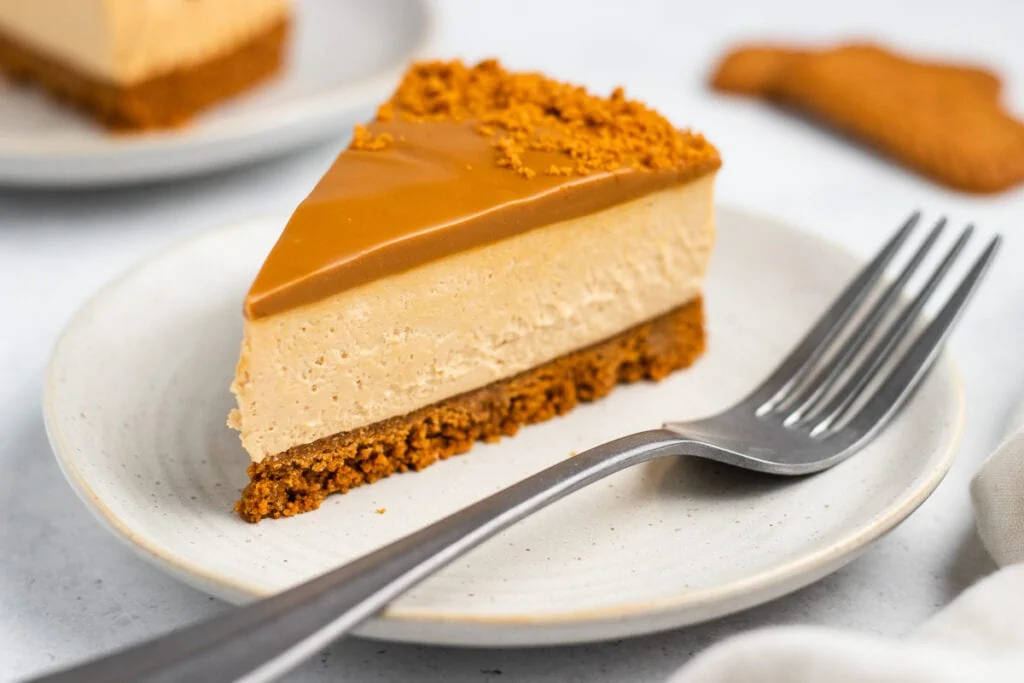
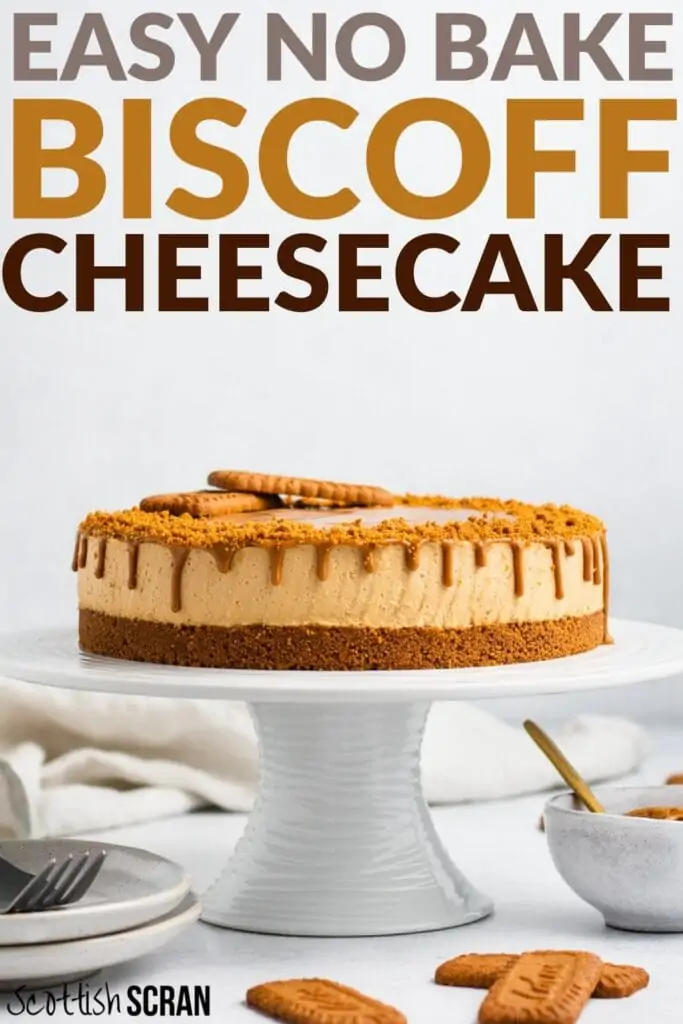
The recipe for a Biscoff Cheesecake is much easier than you’d think! With just 7 ingredients, we have created a silky smooth cheesecake with a delicious buttery biscuit flavour, sitting on a Biscoff Biscuit base, and topped with Biscoff Spread.
Scroll to the end or use the table of contents to be taken straight to the Printable Recipe Card.
- What is Biscoff?
- Why make Lotus Biscoff Cheesecake?
- Things you’ll need to make the Best Lotus Biscoff Cheesecake
- Ingredients for Biscoff Lotus Cheesecake Recipe
- How to make the Best Biscoff Cheesecake – Step-by-step method
- Topping and Decoration Ideas for your Biscoff Cheesecake
- Frequently Asked Questions and Top Tips
- Printable Biscoff Cheesecake Recipe Card
- Popular Cheesecake Recipes
- More Biscoff Recipes
What is Biscoff?
Lotus Biscoff biscuits seem to be everywhere right now and are used in all sorts of different baking recipes. We almost can’t go into a cafe without seeing them.
These caramel-flavoured biscuits are a type of speculoos biscuit, which are a spiced shortcrust biscuit that originated in Belgium.
They can be similar to a cinnamon biscuit, but they have a bit more of a nutmeg and ginger flavour or a ginger biscuit but with more nutmeg.
Why make Lotus Biscoff Cheesecake?
In the UK, Biscoff biscuits have long been served on the side of your coffee, but more recently, the peanut-butter-like Biscoff spread, made with the biscuit crumbs themselves, has been commandeered for use in brownies, cupcakes, traybakes, and… cheesecake!
This is where our no-bake Lotus Biscoff Cheesecake recipe comes in. We love to make Biscoff Brownies , Blondies, Biscoff Rocky Road, and Biscoff Tiffin, but there’s something extra indulgent about a cheesecake.
It’s easy to make instead of a birthday cake, as a dessert for a special occasion, or for a dinner party. We’ve used it for all of these, and people are always impressed. But the best part is how EASY it is!
You can find all of the exact details below, including what you need, the full printable recipe card, and a bit of a troubleshooting guide.
Cheesecakes have long been popular on our site and in Scotland in general, of course! One of our favourite cafes close to where we live specialises purely in cheesecake, and you’ll often see variations of Tablet Cheesecake on many menus.
We also love our Cranachan Cheesecake, so make sure you check it out if you want something a little more Scottish.
However, Sonja has become just a LITTLE obsessed with all things Biscoff, and we weren’t kidding when we said you’ll find variations of Biscoff baked goods all over Scotland, so we decided it was about time to add a Lotus Cheesecake to our repertoire.
Like our others, it’s a simple recipe you can use to impress!
It only takes half an hour or so to put together, and then you just need to be patient while you wait for it to chill. Then decorate as you wish!
Then if you still can’t get enough Biscoff, be sure to check out our easy no-bake Biscoff Tiffin and Biscoff Rocky Road AND Biscoff Brownies and Blondies recipes. So easy but amazingly delicious!
Things you’ll need to make the Best Lotus Biscoff Cheesecake
- 20cm (8inch) springform cake tin – we like this one
- Food processor or blender to crush biscuits (or use a rolling pin) – we actually use the “chopping bowl” attachment on a hand blender like this to crush biscuits!)
- Electric whisk
- Offset spatula for smoothing – like one of these
See the post end for the full printable recipe card, or follow the directions below with method images to help you along.
Ingredients for Biscoff Lotus Cheesecake Recipe
For the BASE:
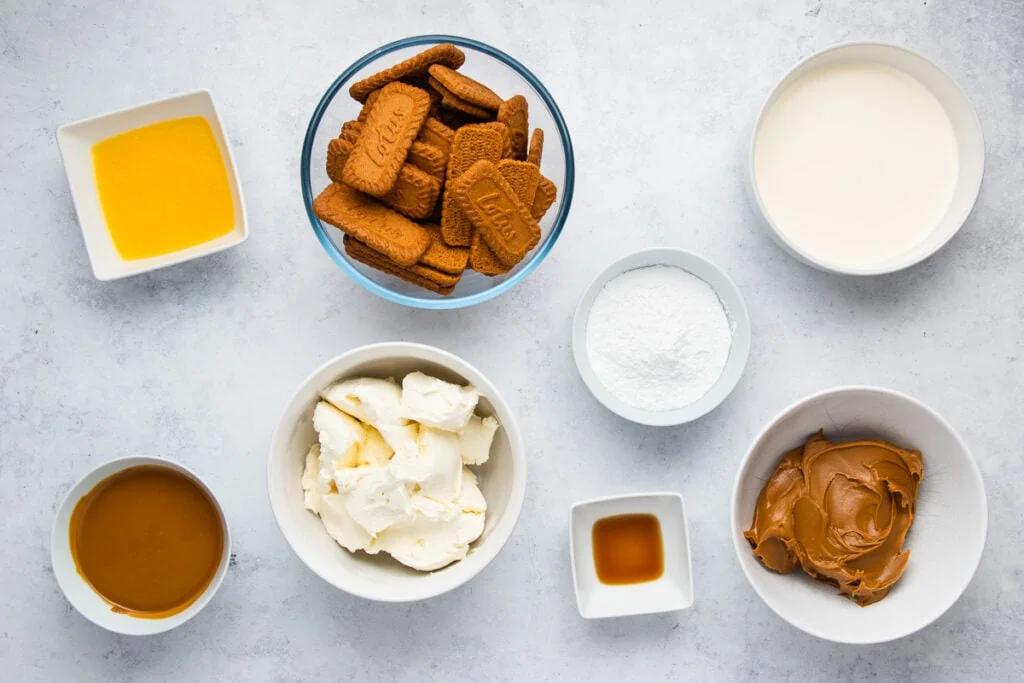
- 300g Biscoff biscuits (2 ½ cups)
- 100g unsalted butter (melted) (7 tbsp)
For the Cheesecake Filling:
- 450g full-fat cream cheese (I used Philadelphia) (2 cups)
- 75g icing sugar (9 tbsp) – also known as powdered sugar
- 250g smooth Biscoff spread (1 cup)
- ½ teaspoon vanilla extract
- 270ml double cream (1 cup + 2 tbsp) – also known as heavy cream
For the topping:
- 150g smooth Biscoff spread (melted and slightly cooled) (2/3 cup)
- Extra Biscoff biscuits and crumbs to decorate (optional)
Should you use Smooth or Crunchy Biscoff Spread?
Biscoff spread comes in two types, smooth and crunch – just like peanut butter! The crunchy version has bits of biscuits in it, whereas the smooth is, well, smooth.
You may not have both available to you, so choose whichever you can get. If you have the option, we prefer to use the smooth spread, as it results in a smoother cheesecake and looks great as a topping. But you can give the crunchy version a go too!
Can I use alternative biscuits and Spread?
Biscoff is a brand, so it is possible to use other caramelised biscuits or biscuit spread, like those found at Aldi or Lidl.
How to make the Best Biscoff Cheesecake – Step-by-step method
Yield: 12 servings
Prep time: 35 minutes
Chilling time: 4-6 hours +
Make the crust
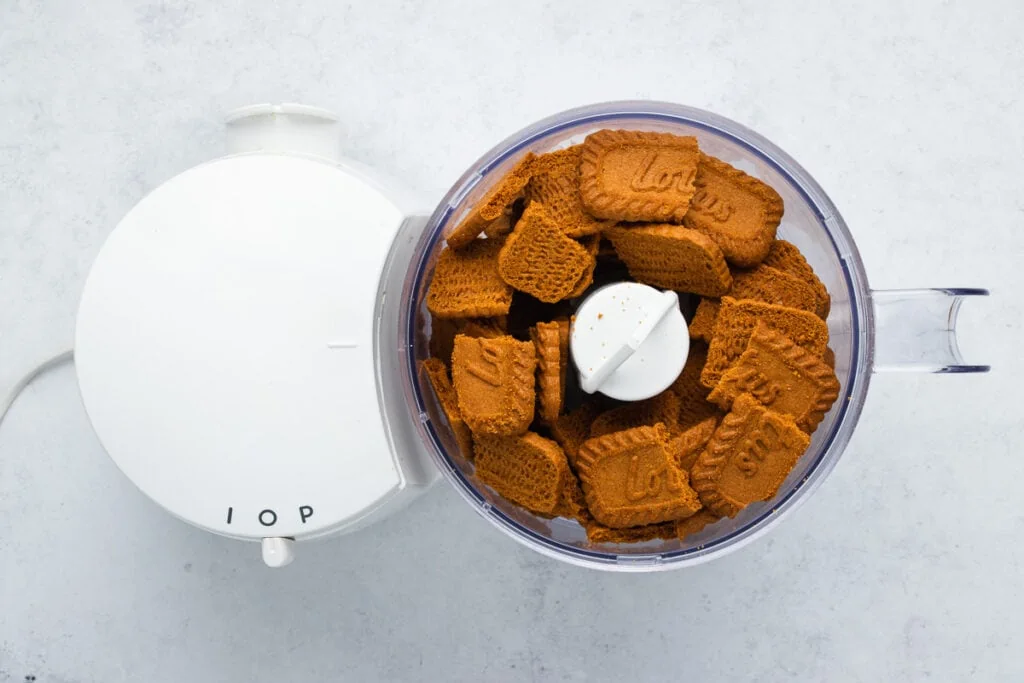
Blitz the Biscoff biscuits in a food processor until broken down into fine crumbs.
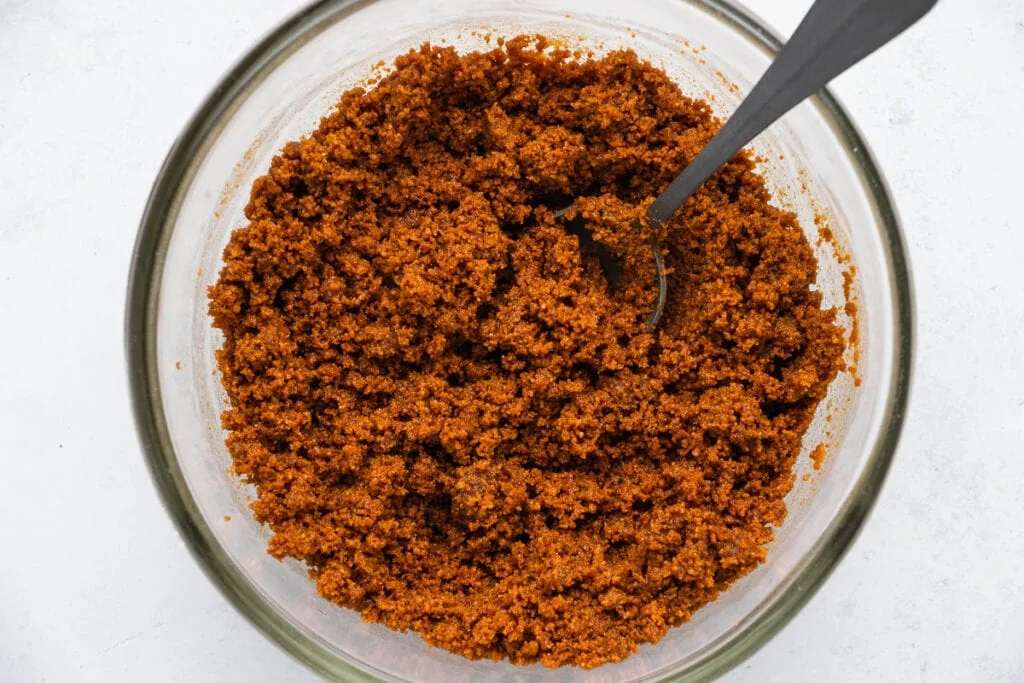
Transfer the crumbs to a mixing bowl and pour in the melted butter. Stir until it resembles wet sand.
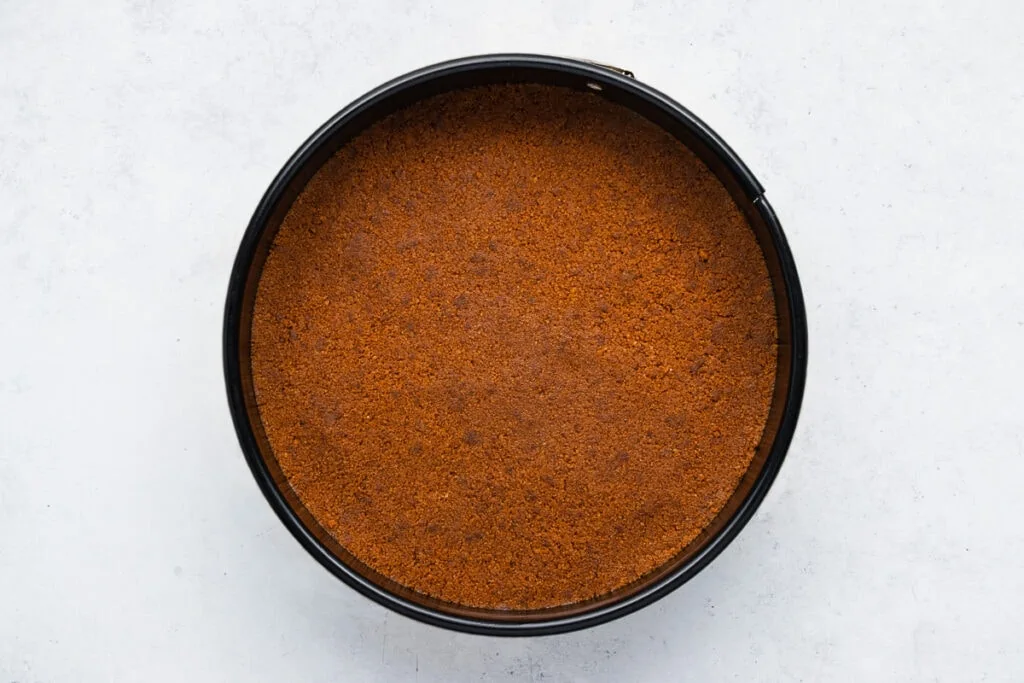
Spread the biscuit/butter mixture into the base of a 20cm springform cake tin. Smooth it out into an even layer, compacting it down with the back of a spoon. Put the tin in the fridge for at least 30 minutes whilst you prepare the cheesecake filling.
Make the cheesecake filling
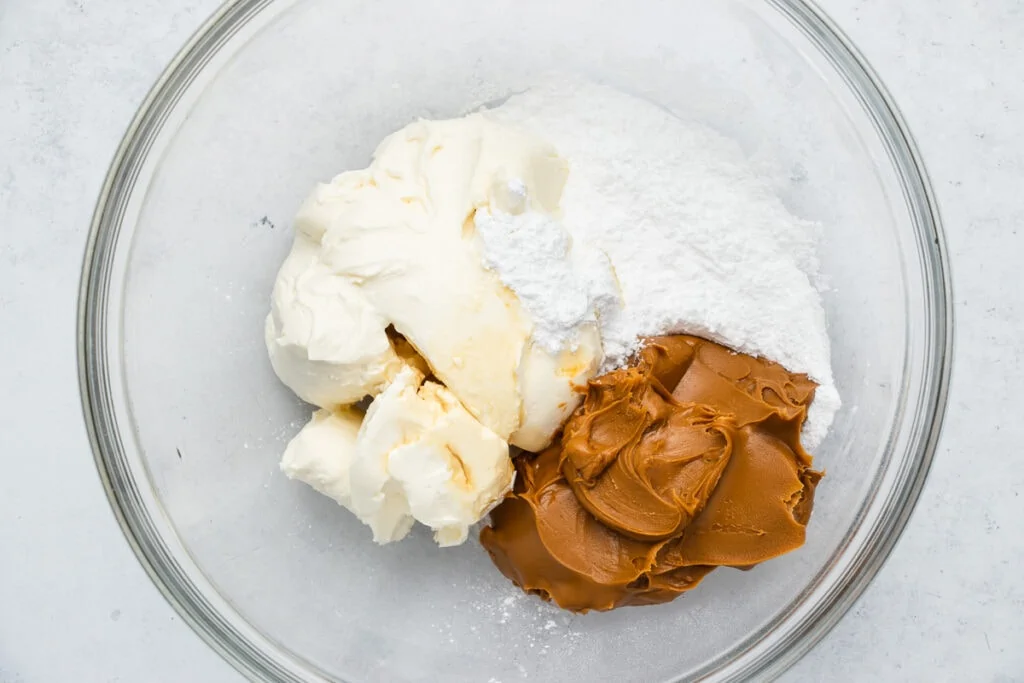
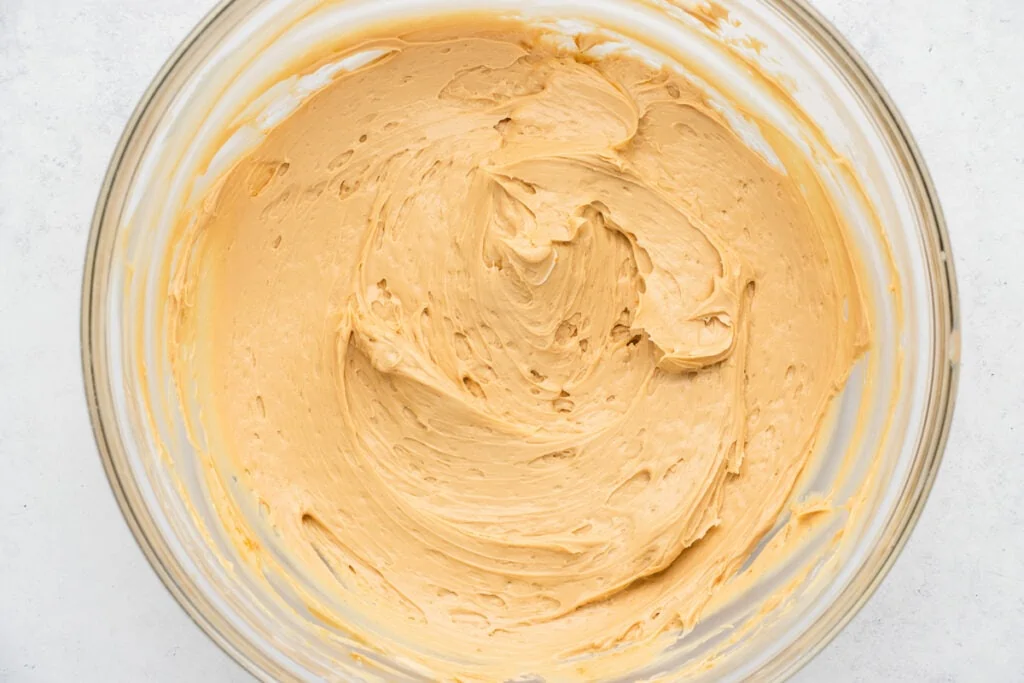
Add the cream cheese, icing sugar, Biscoff spread and vanilla extract to a large mixing bowl and beat with an electric hand whisk until well combined.
In a separate bowl, whip the cream until it forms stiff peaks.
Fold the whipped cream into the other filling ingredients until combined.
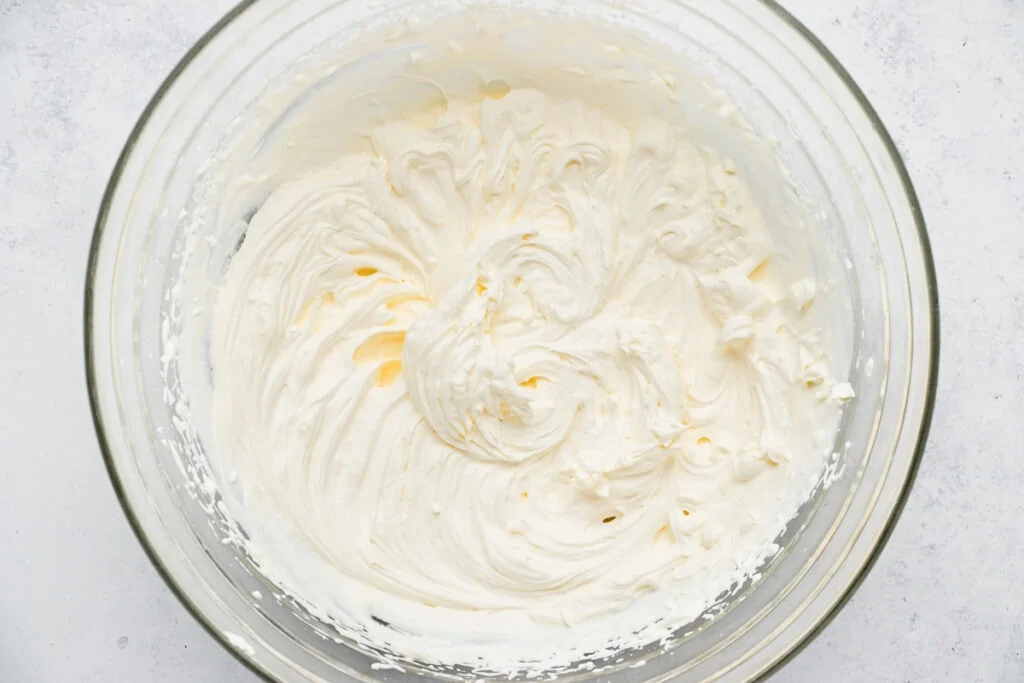
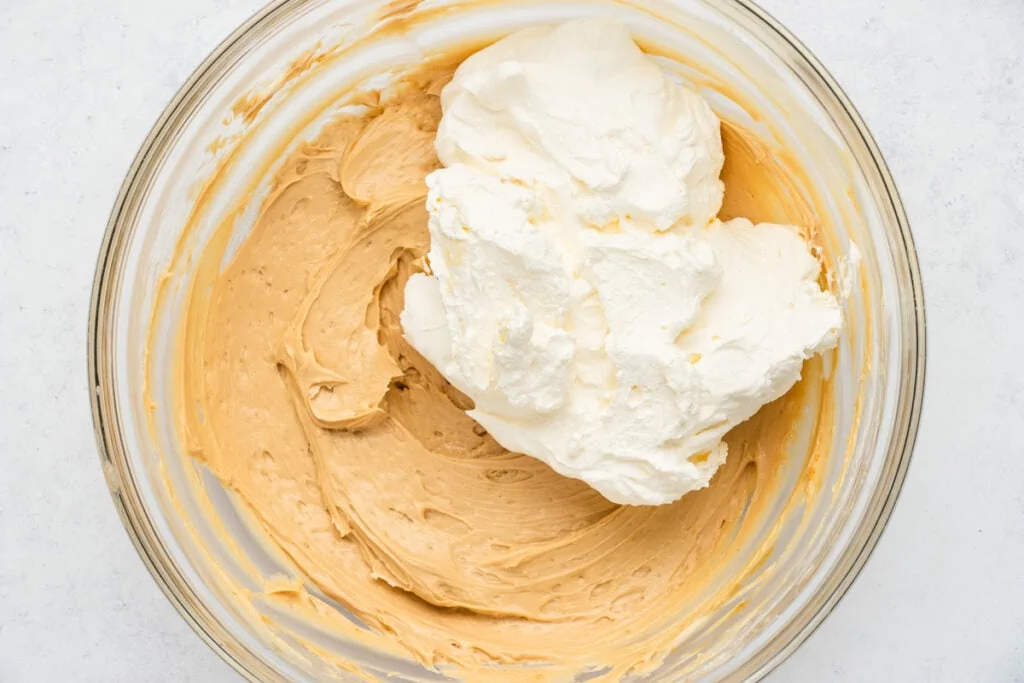
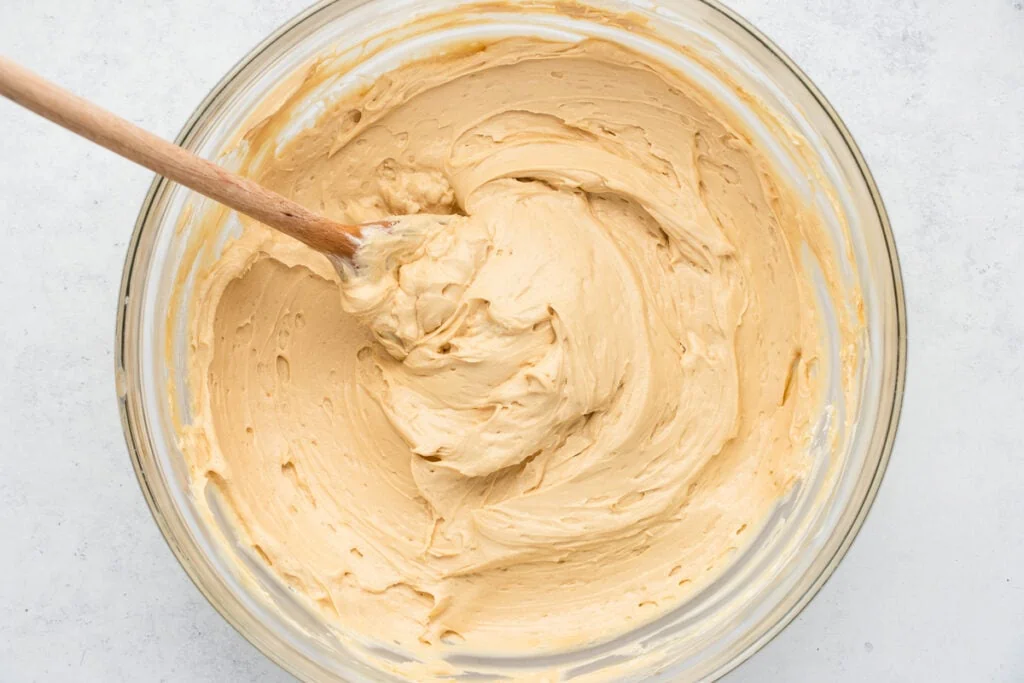
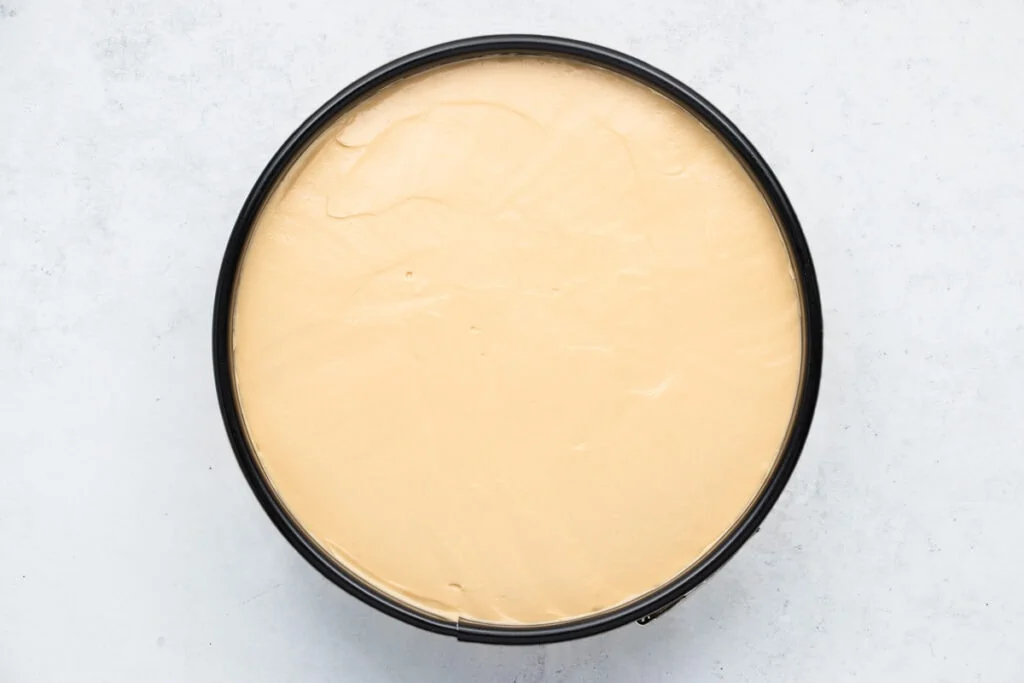
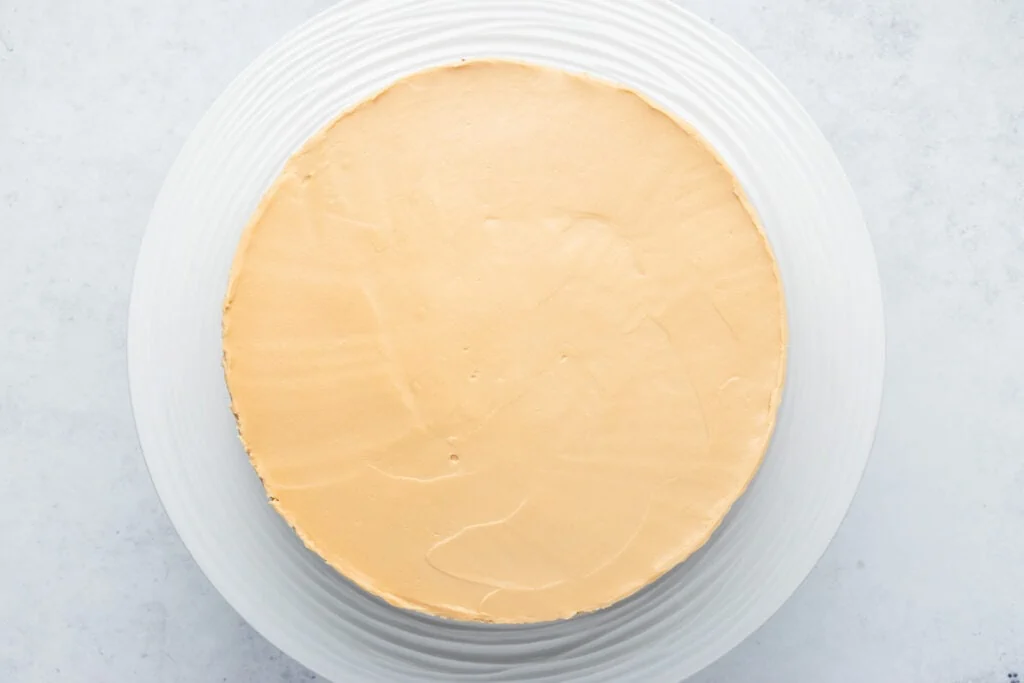
Layer the mixture on top of your biscuit base. It’s easier to do this in two layers rather than tipping it all in so that you can avoid air bubbles. Smooth the top with an offset spatula and then bang it once or twice down on the benchtop to get rid of any air bubbles.
Put in the fridge to set for a minimum of 4-6 hours or preferably overnight.
Make the topping
Remove the cheesecake from the springform tin by running a sharp knife around the edge of the tin, then gently unclipping the side and lifting it away. Use a cake lifter or two spatulas to lift the cheesecake away from the base of the tin and transfer it to a plate or cake stand.
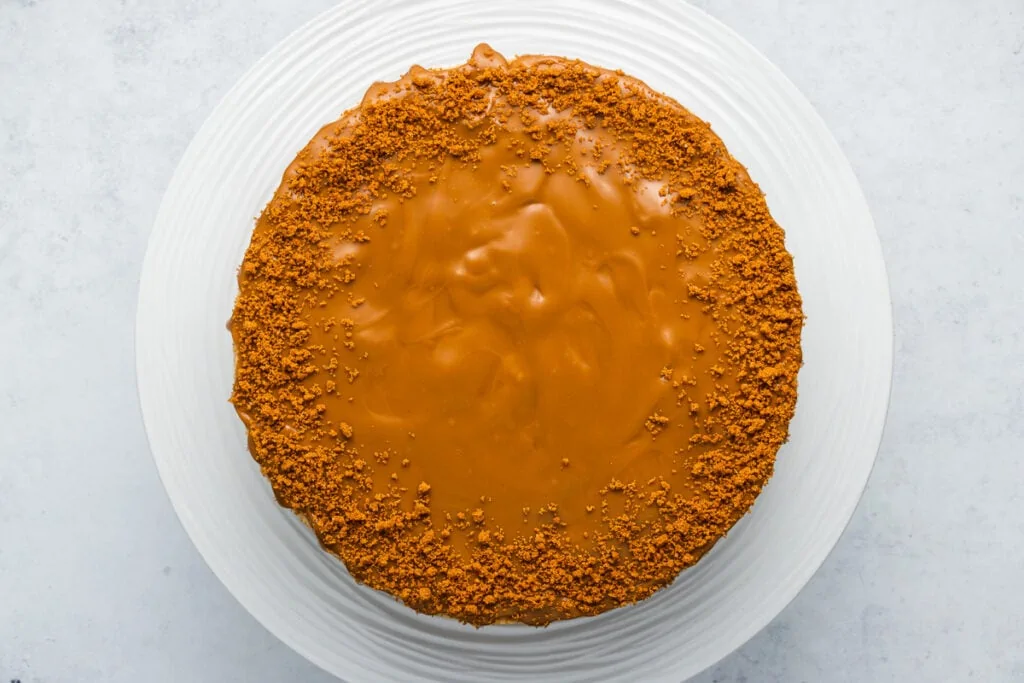
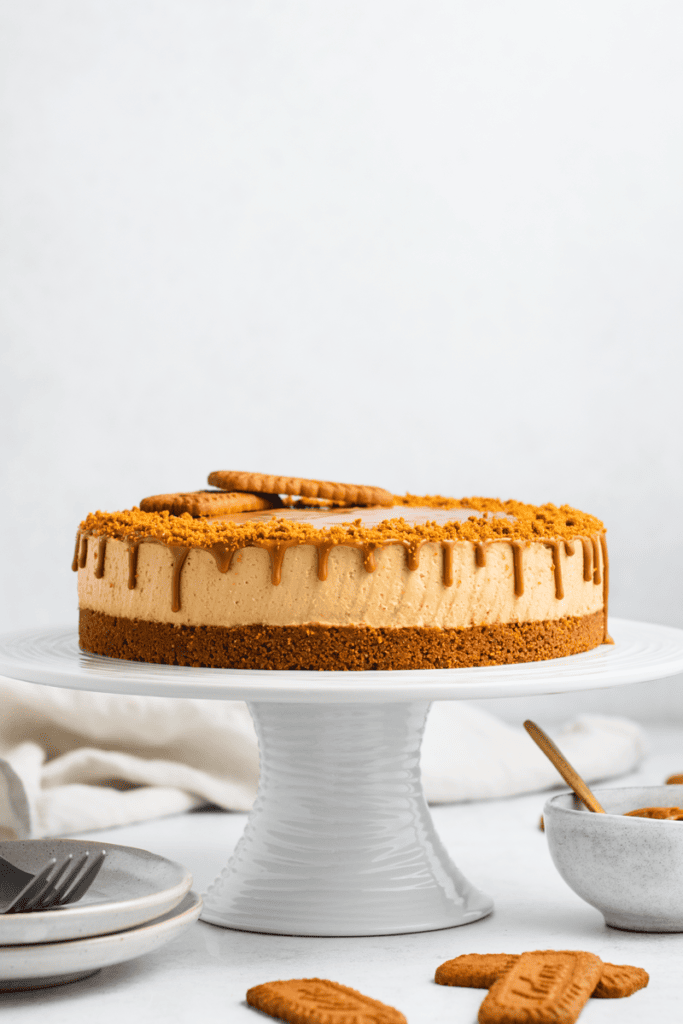
Melt the Biscoff Spread in short 10 second bursts in the microwave or on a low heat on the stovetop. Pour the melted Biscoff spread all over the top of the cheesecake. You can create a drip effect by gently pushing small amounts of the topping over the edge with a small spoon.
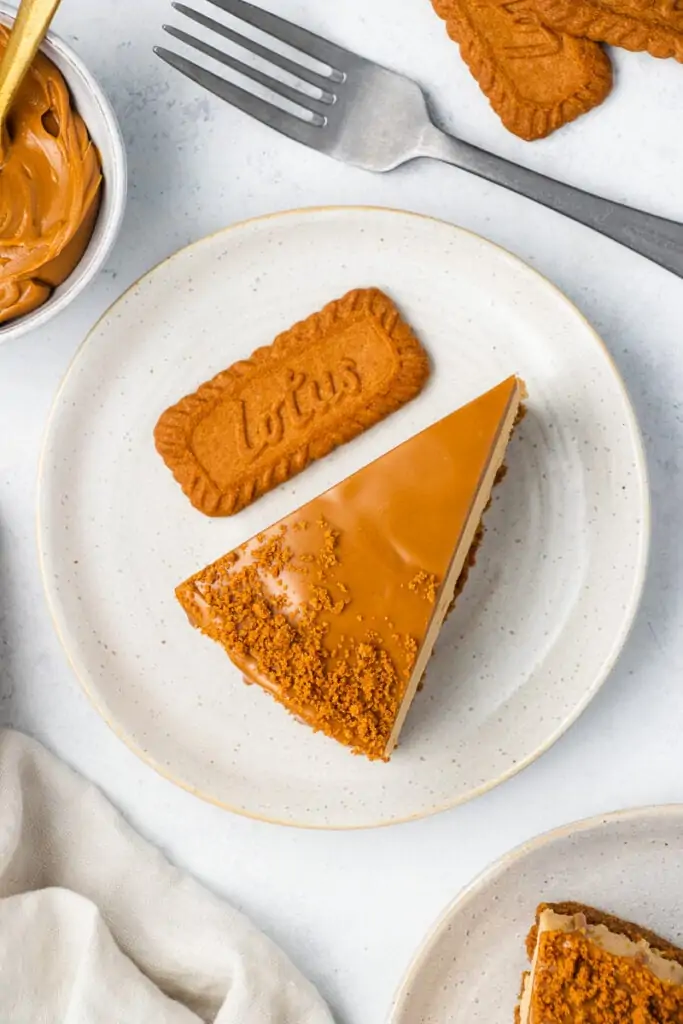
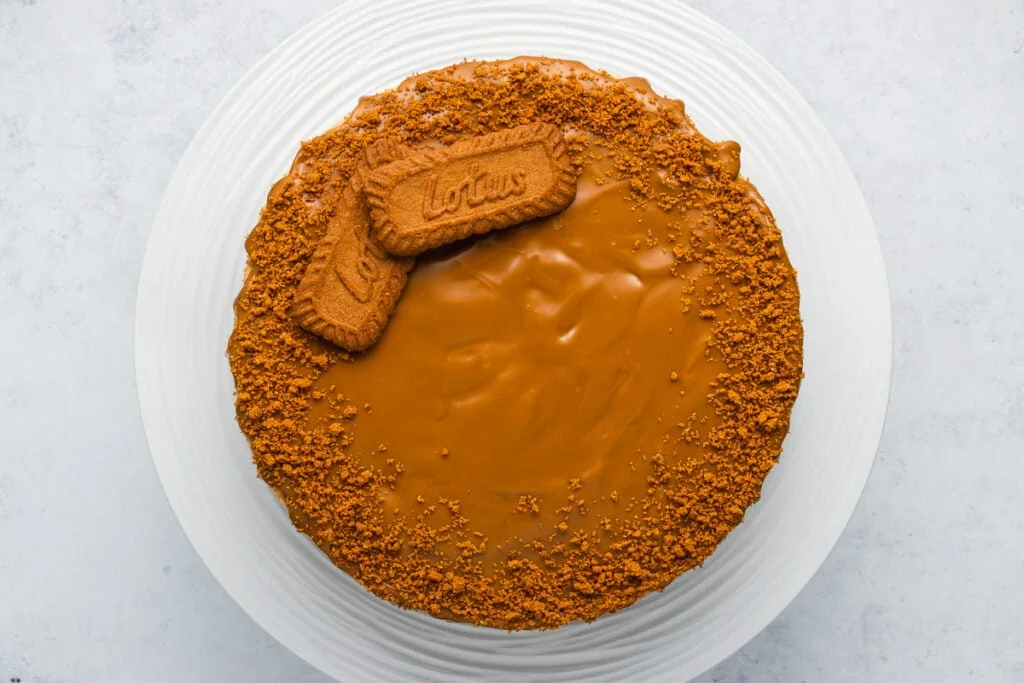
Add some biscuit crumbs and whole biscuits for decoration if desired.
Topping and Decoration Ideas for your Biscoff Cheesecake
Depending on your skill level and confidence, you can be as elaborate or simple as you like with the topping of your cheesecake. The good thing is that even a simple cheesecake decoration can be very effective.
Biscoff Spread topped with crumbs
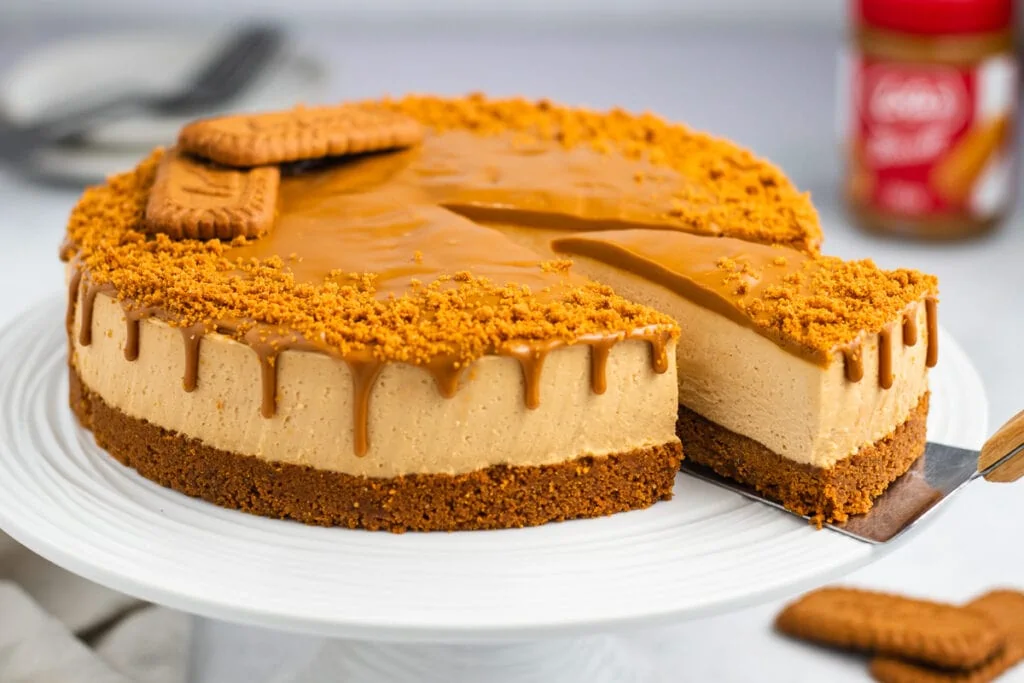
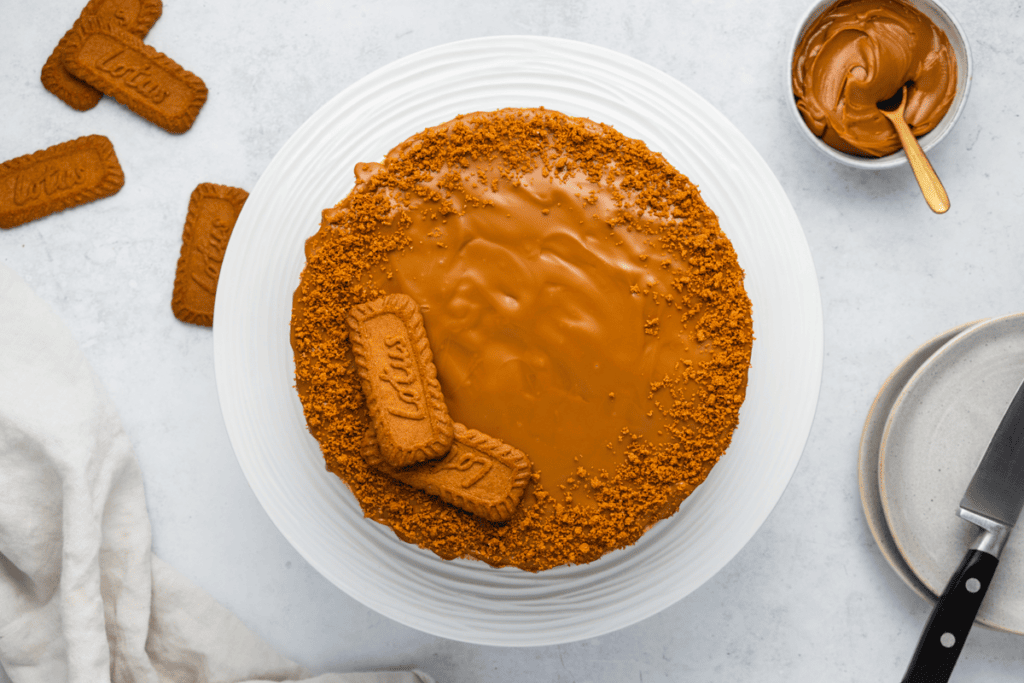
We like to keep things simple with some melted Biscoff covering the top and just dripping down the sides. We then sprinkled some biscuit crumbs around the top edge and added a couple of whole biscuits.
The spread hardens up again and gives it that added flavour of Biscoff and a professional look.
Biscoff Spread in the tin
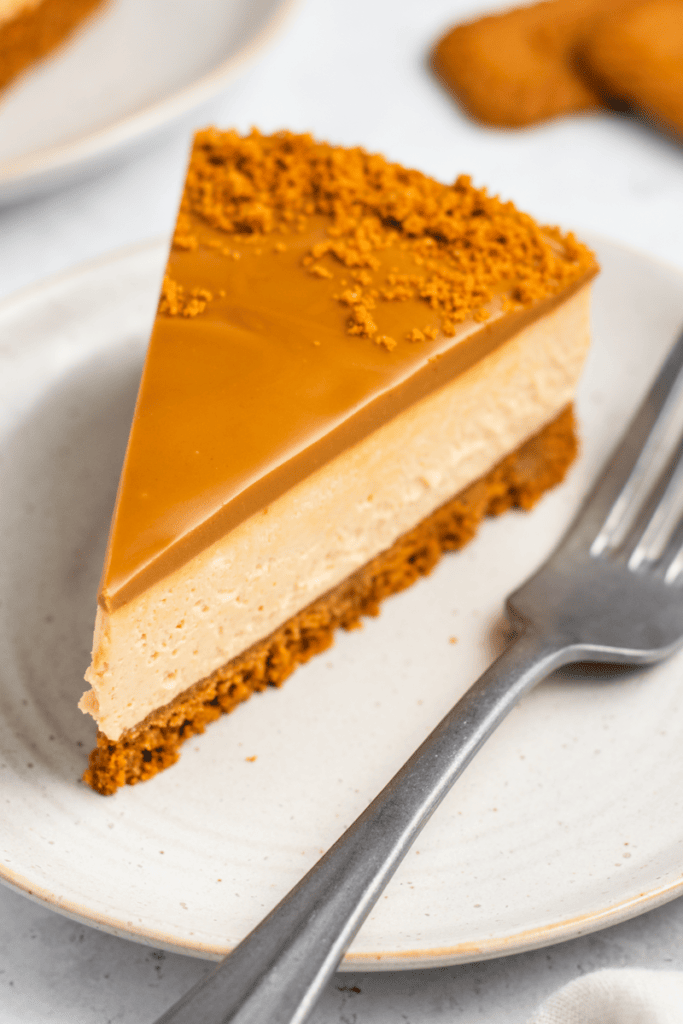
Put the spread on before removing the cheesecake from the tin to allow it to set as another layer on the cheesecake rather than drip down the sides.
Just crumbs
Leave out the melted Biscoff Spread and just sprinkle crushed biscuits over the top.
Rosettes
Pipe Biscoff Spread or cream rosettes topped with biscuits. You could do this with or without the Biscoff Spread. Note that cream melts faster in higher temperatures if you plan to be leaving the cheesecake out on display anywhere.
Biscoff Spread Swirl
Before you put the cheesecake into the fridge to chill, drizzle over some softened Biscoff Spread and then use the end of a sharp knife or a skewer to swirl it around and give it a sort of marble effect.
Biscoff Drizzle
Rather than covering it with spread and allowing it to set, melt some just before serving and drizzle it all over the cheesecake like a sauce.
Of course, you can be creative and come up with your own endless options too!
Frequently Asked Questions and Top Tips
How long does Biscoff Cheesecake last?
This cheesecake will last for three days in the refrigerator if it’s not all eaten up by then!
Store it covered either in an airtight container or in clingfilm so that it doesn’t dry out or take on other flavours from the fridge. Aim to store it in the coldest part of the fridge, which is usually at the back.
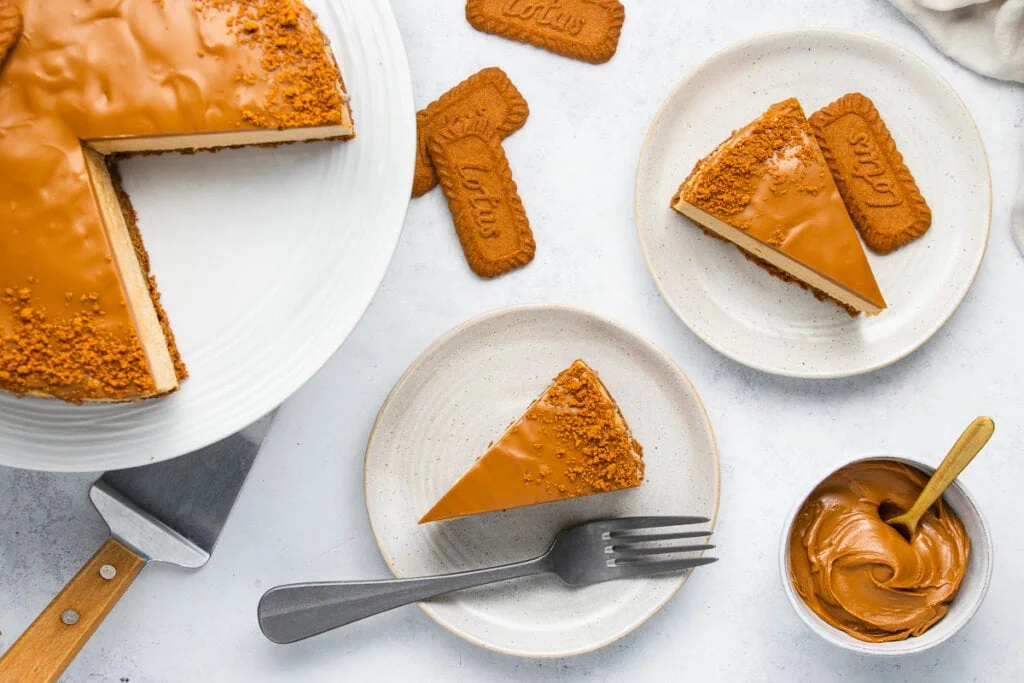
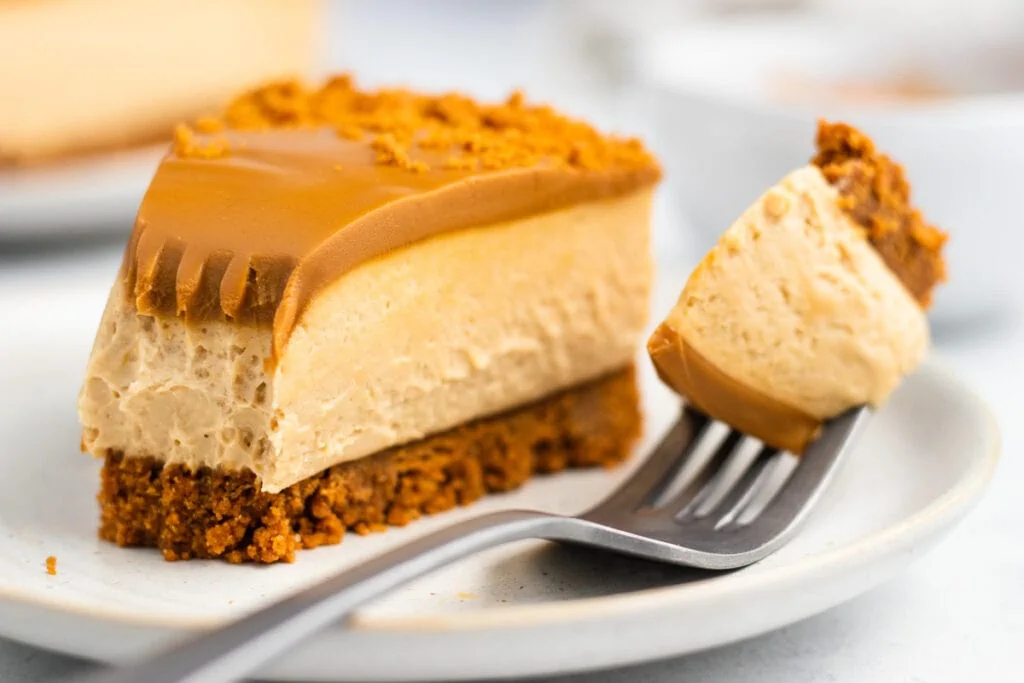
How to Slice Biscoff Cheesecake
Firstly, make sure the cheesecake is fully set. We really recommend leaving it overnight to be sure.
Cutting with a hot knife is recommended. Fill a tall judge with hot water and submerge the knife for 10 seconds or so. You don’t want the Biscoff spread to melt against the knife, just have it warm enough to easily slice through.
Wipe it dry and then press down with the knife rather than using a slicing motion. If the slice is messy, you can use the same hot knife technique to tidy it up by running the knife along the slice and smoothing it out.
Why didn’t my cheesecake set?
Cheesecakes can sometimes be a little temperamental! But it should always set it you follow this recipe, so if not, check the reasons below.
Whip the cream more
The first reason your Biscoff Cheesecake may not have set is that you didn’t whip the cream enough. It should be stiff peaks rather than soft, so a medium sort of whip as opposed to a soft one you might use for cream for a pudding.
Chill for longer
The second is that it needs a longer chilling time. Pop it back in the fridge for another couple of hours and check again. Ideally, it should go in overnight, but 6-8 hours is the minimum, as fridge temperatures can vary.
Use full-fat cream cheese
You should also make sure you use good quality and full-fat cream cheese. Some of the cheaper brands or low-fat options can be a bit runnier and cause the cheesecake not to set properly.
Still not set?
If you have to, you can pop it in the freezer to set it for a short amount of time. Don’t leave it for too long if you intend to eat it right away, or it starts to go gritty, and you’ll need to defrost it properly to eat it.
If all else fails, turn it into something else! Biscoff Cheesecake milkshakes, made by blending milk and cheesecake, are delicious, as are sundaes made by topping the cheesecake with some ice cream.
Can you freeze Biscoff Cheesecake?
Yes! You can make a cheesecake in advance and freeze it for later. It’s the perfect option for when you know you have something coming up and you just won’t have the time to make anything then.
Freeze individual slices
If you just can’t finish your Biscoff Cheesecake, you can always freeze it in individual slices to have it as a treat later.
Wrap each slice carefully in cling film and then in tin foil and place into a container or onto a flat plate/tray to freeze.
When you want a slice, remove the tinfoil and allow it to thaw in the fridge overnight.
If you absolutely must have a slice of your cheesecake that day, you can allow it to come to room temperature on the counter for around 3-4 hours, but you should watch it closely as you don’t want it to start to warm up or melt.
It should be kept cold, so you could leave it on the bench for a couple of hours then put it in the fridge for another couple of hours.
Freeze the whole cheesecake
If you plan to use the cake for a party or to impress, you can freeze it and decorate it later.
You MUST allow the cake to be fully set in the refrigerator for 6-8 hours or overnight before you freeze it, or can turn gritty, as we mentioned above.
Then remove it from the tin and place it on a plate or piece of cardboard. Wrap it tightly in cling film and then ideally in foil as well for extra protection.
If you have a big enough airtight container, then you can wrap it in clingfilm and then place it in that. The idea is to avoid any kind of moisture getting to the cheesecake.
To thaw, leave it in the fridge overnight or for a minimum of 4-5 hours so it fully defrosts.
You can then decorate as usual and allow it to chill another couple of hours if you use melted Biscoff, and you need that to set too.
Your cheesecake will lose its flavour and texture the longer it’s frozen, so we’d recommend only keeping it for a month or two at the most.
Printable Biscoff Cheesecake Recipe Card
Easy No-Bake Lotus Biscoff Cheesecake Recipe
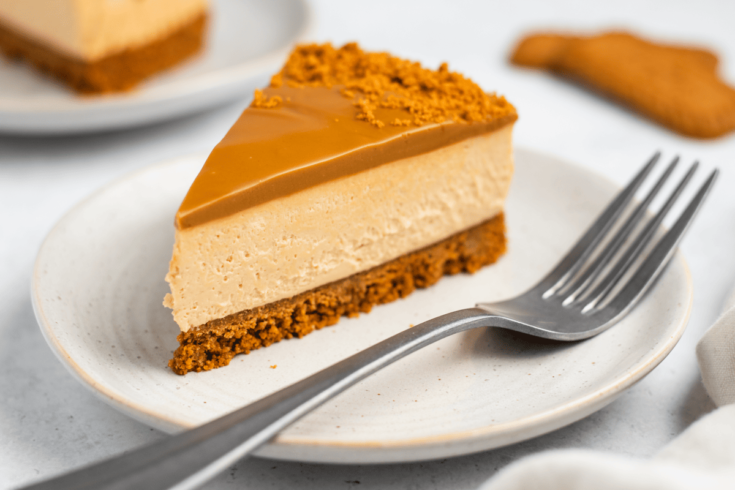
Lotus Biscoff biscuits seem to be everywhere right now. These caramel flavoured biscuits are a type of speculoos biscuits, which are a spiced shortcrust biscuit that originated in Belgium.
In the UK they have long been served on the side of your coffee, but more recently the peanut butter like Biscoff spread, made with the biscuit crumbs themselves, has been commandeered for use in brownies, cupcakes, traybakes, and… cheesecake!
This is where our no-bake Lotus Biscoff Cheesecake recipe comes in!
Ingredients
For the cheesecake
- 300g Biscoff biscuits (2 ½ cups)
- 100g unsalted butter (melted) (7 tbsp)
- 450g full fat cream cheese (I used Philadelphia) (2 cups)
- 75g icing sugar (9 tbsp)
- 250g smooth Biscoff spread (1 cup)
- ½ teaspoon vanilla extract
- 270ml double cream (1 cup + 2 tbsp)
For the topping
- 150g smooth Biscoff spread (melted and slightly cooled) (2/3 cup)
- Extra Biscoff biscuits and crumbs to decorate (optional)
Instructions
- Blitz the Biscoff biscuits in a food processor until broken down into fine crumbs.
- Transfer the crumbs to a mixing bowl and pour in the melted butter. Stir until it resembles wet sand.
- Spread the biscuit/butter mixture into the base of a 20cm springform cake tin. Smooth it out into an even layer, compacting it down with the back of a spoon. Put the tin in the fridge for at least 30 minutes whilst you prepare the cheesecake filling.
- Add the cream cheese, icing sugar, Biscoff spread and vanilla extract to a large mixing bowl and beat with an electric hand whisk until well combined.
- In a separate bowl, whip the cream until it forms stiff peaks.
- Fold the whipped cream into the other filling ingredients until combined.
- Layer the mixture on top of your biscuit base. It’s easier to do this in two layers rather than tipping it all in so that you can avoid air bubbles. Smooth the top with an offset spatula and then bang once or twice down on the benchtop to get rid of any air bubbles.
- Put in the fridge to set for a minimum of 4-6 hours or preferably overnight.
- Remove the cheesecake from the springform tin by running a sharp knife around the edge of the tin, then gently unclipping the side and lifting it away. Use a cake lifter or two spatulas to lift the cheesecake away from the base of the tin and transfer it to a plate or cake stand.
- Melt the Biscoff Spread in short 10 second bursts in the microwave or on a low heat on the stovetop. Pour the melted Biscoff spread all over the top of the cheesecake. You can create a drip effect by gently pushing small amounts of the topping over the edge with a small spoon.
- Add some biscuit crumbs and whole biscuits for decoration if desired.
Notes
Feel free to be creative with your topping!
The cheesecake will last for 3 days in the fridge.
Nutrition Information:
Yield:
12Serving Size:
1Amount Per Serving: Calories: 575Total Fat: 41gSaturated Fat: 20gTrans Fat: 0gUnsaturated Fat: 18gCholesterol: 100mgSodium: 312mgCarbohydrates: 47gFiber: 0gSugar: 22gProtein: 6g
The above values are indicative only
Popular Cheesecake Recipes
More Biscoff Recipes
We hope you enjoy your Lotus Biscoff Cheesecake as much as we do! Be sure to let us know how you get on with it.
Happy baking!
Pin for later!
Sonja and Phil x

Cheesecake filling does not set. Just a horrible sloppy mess!
Sorry you’ve had issues, Hugh. We’ve tested this recipe numerous times and never had this issue. We can only suggest you check your chilled time, and more likely that the cream you’ve used is double cream. We hope this helps
What is the fat content of your double cream? In the Netherlands, the only whipping cream we have comes in a maximum of 35% fat. In order to match the UK’s double cream fat content, you need to add mascarpone to the slagroom. For every 100ml of slagroom use 30g of mascarpone. That should help.
UK Double Cream is 48% fat, so it is much higher! Adding mascarpone is a great idea to bring up the fat content of the cream. Thanks!
If you’re having issues with it setting, you’re probably making the fatal error of over mixing! Never overmix the cream, or the rest of the ingredients! Cheesecakes are delicate things.
An excellent point Harriet, thanks for your help!
Love this recipe my second time making it and it does set its not to sweet or not enough just perfect my whole family love this and made me make another one absolutely love it
Thanks so much for your kind words! It’s a fav in our house, so it’s great to know others like it too!
You’re probably just over mixing 🙂
Amazing… perfect recipe
Thank you very much Ben, it’s one of our favs!
I just made this and wow 🤩 my local friends and family all came to collect a couple of slices and can’t compliment it enough. My partner, who doesn’t usually have a sweet tooth, said it’s the best dessert yet!!! This recipe is definitely a keeper. Thank you so much
Very much our pleasure, we’re so pleased it was such a hit!
Just made this. Amazing recipe, no issues at all. Perfect.
Thanks for the kind words Steve, so pleased you liked it!
If we’re short on time, how long do you recommend leaving it in the freezer instead of refrigerating?
You would have to watch it carefully, much like Great British Bake Off there’s no set rule. Crucially though don’t allow any part of it to freeze or form ice crystals.
This recipe is awesome. “No bake” is the way to go. Worked out perfectly and looks just as Beautiful as yours. Only problem was keeping kids from snatching the cookies so I could set some aside for decor . Thanks for sharing.
Thanks so much we’re so glad you enjoyed it! Haha definitely hard not to eat those remaining ones!
Will it be ok to freeze it before I put the topping on?
We think this would be fine as long as it’s well sealed and used within a couple of months.
Can I use full fat Greek yoghurt instead of cream
Yes, that should be fine! As long as you use cream cheese as well to help the cheesecake set.
I made this recently, and, at the last minute, our Sunday get-together was postponed for a week. I put it into a plastic cake box and froze it for the week, taking it out of the freezer on the following Friday evening, and left it in the fridge till Sunday.
The cheesecake was perfect. The whole family loved it – we didn’t bring any home – my box was empty!
So today, I have made it again for a quilting group get-together for a Christmas lunch for tomorrow.
On both occasions I have had no problems with it setting – it is just so so good.
Thank you Phil and Sonja for a great recipe.
Val
Thank you
Thanks so much for letting us know. We’re so glad you loved it and even made it again!
Wow this was amazing, I too made this for the whole family and my dad who doesn’t like sweet things said it was amazing! A firm favourite now!!! I’ve had the issue with other cheesecakes of it not setting but I hadn’t beaten the cream as much as I should have!
Will definitely be making this again!!
If im freezing for use next week, do i freeze with or without the melted biscoff glaze on the top?
We would freeze without and decorate once it’s thawed :).
Thanks for recipe. Made for mum bday cake and she loved it. I drizzled extra biscoff on top instead of spreading the whole thing. Biscoff flavour still came through. Also lessened the amount of icing sugar to 2 Tablespoons.
So pleased that you enjoyed it! Sounds like a lovely way to decorate it too.
Thanks for the amazing recipe. My first cheesecake to set and it had a yummy texture. To top it off I won our work Cheesecake bake off with it 😊
That’s amazing well done!!! We’re so pleased.
I made this for my son’s birthday and it was a great success! Only change I made was that I found that 150g biscoff for topping wasn’t really enough so ended up using more to get a nice finish on the top of the cake.
We firmly believe you can never have enough Biscoff so we 100% agree with this. Happy belated birthday to your son!
Absolutely beautiful, make this often for Birthday cakes.
Thank you
Erin
I made this cake for my daughter’s birthday as she is a huge biscoff fan and I couldn’t find one locally. It was absolutely delicious and so easy to make. It turned out perfectly. I’m making it again for Christmas day. Can’t wait to eat it again!
We’re so pleased to hear it!
This is my 2nd time to make this, my wife love it on the first make already and requested to do another one over the weekend. Thanks for the recipes, you had make my wife so happy.
Thanks so much that’s wonderful to hear!
Followed the recipe step by step and was very happy with the result. Got complements from family, everybody enjoyed it and it was just perfect in terms of sugar proportions. Thank you for the recipe , it is so easy to make and delicious!
So glad you all enjoyed it!