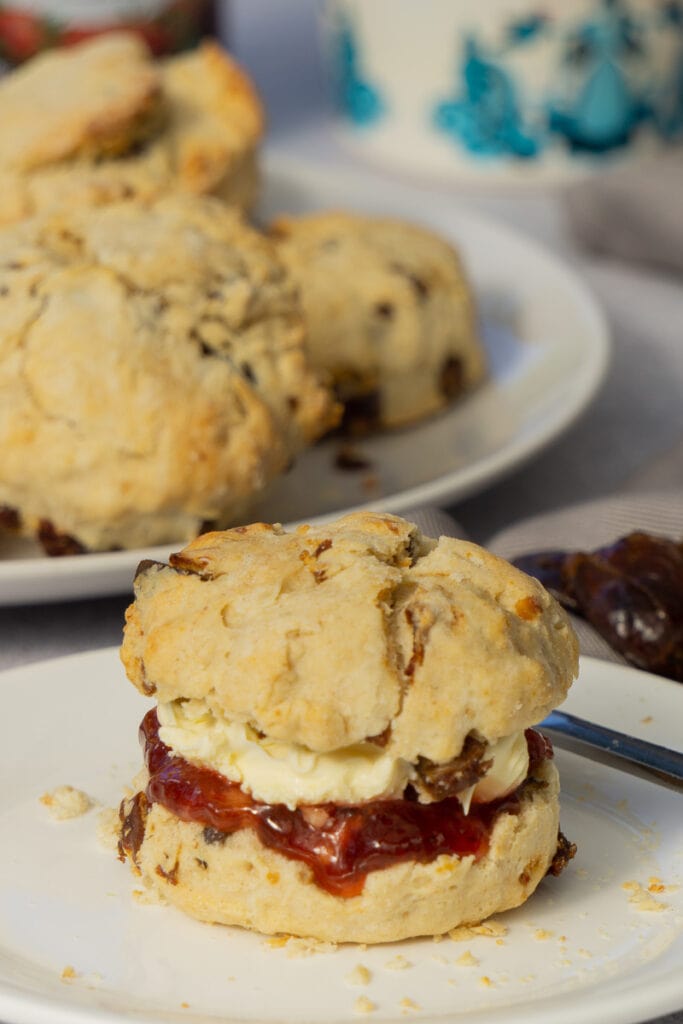
This Date Scone recipe is as simple as it is scrumptious! You will be amazed at how delicious these scones are, compared to the amount of work you have to put in.
Date Scones are something Sonja has been eating all her life, but Phil has only been introduced to them recently. And what a happy introduction it was. Yum!
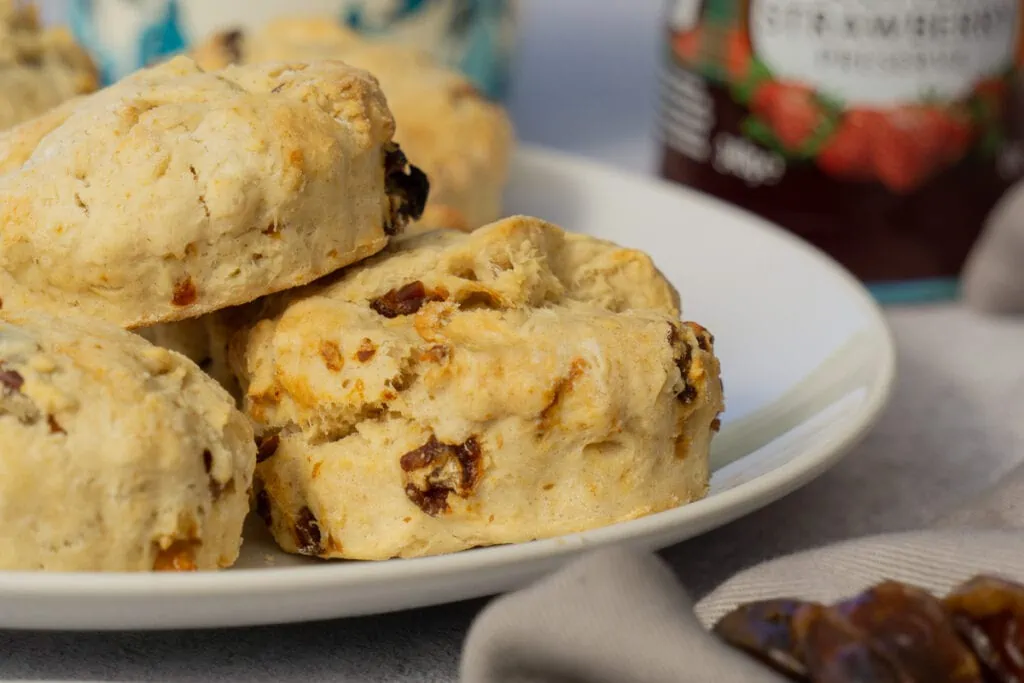
Where you are from may dictate how well you know the simple Date Scone. For example, Phil’s from the South-East of England, Sonja’s from New Zealand, where it turns out Date Scones are A THING.
Basically, New Zealand has a very well-known cookbook called “The Edmonds Cookbook” which has been religiously used by many a Kiwi family for over 100 years and is now in its 69th edition.
The Edmonds scone recipe is legendary and likely what Sonja’s Grandma based her own scone recipe on. At some point, a Date Scone recipe was added, and thus, the beloved Date Scone NZ was born.
Pin for later!
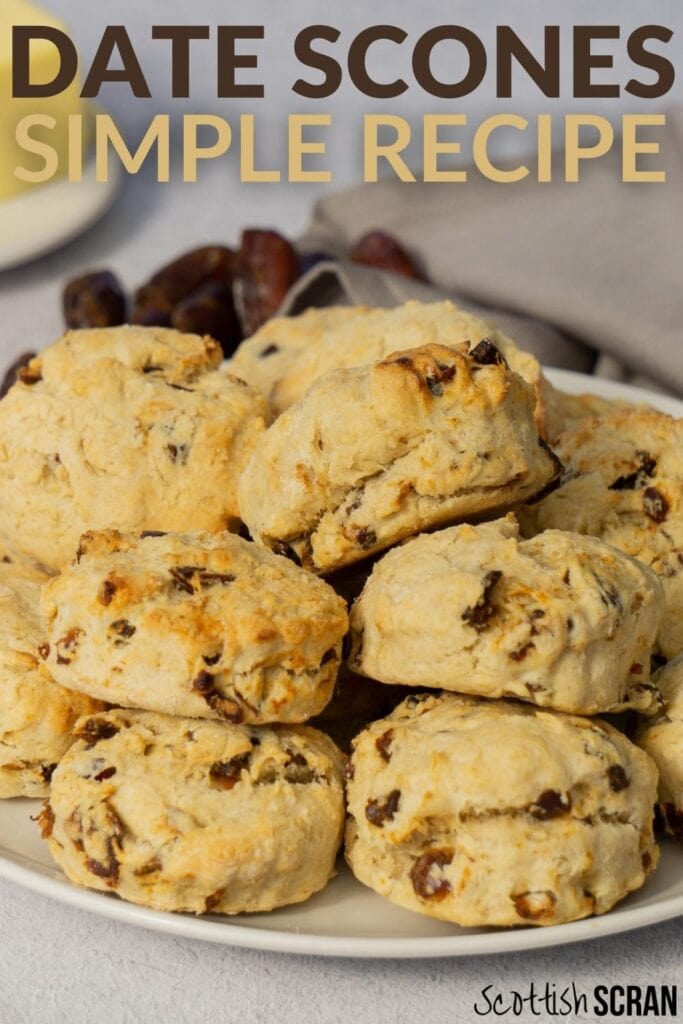
What are Date Scones?
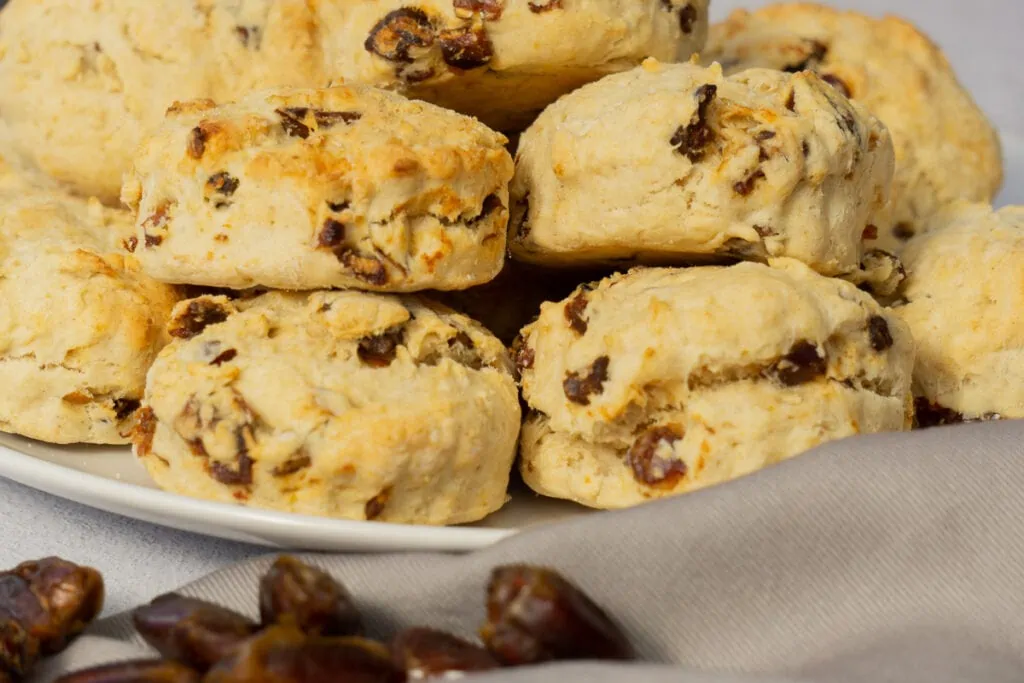
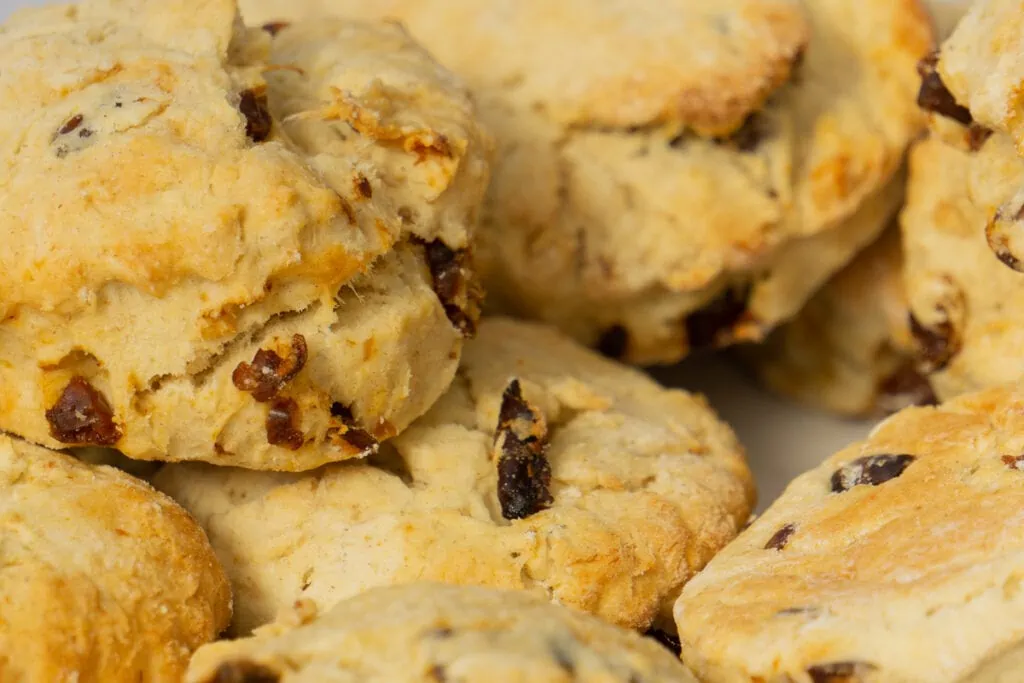
Dates scones are deliciously sweet, unsurprisingly made with dates in place of the usual sultanas found in fruit scones. They are scrumptious, even a little sticky, with an almost malty, fuller flavour than a fruit scone.
What are Dates?
Dates are small fruits that grow on trees that have a sweet, intense flavour with strong notes of caramel. They’re rich and chewy, and their taste only intensifies the longer they are left to dry.
Native to the Middle East, these mouthwatering fruits have been enjoyed for thousands of years!
Many people hear “Dates” and think “ew”. While some love Dates eaten on their own, others aren’t so keen. If you’re in the latter group, you might be surprised to find that Dates are the basis of other delicious baked goods like Sticky Toffee Pudding (check out our Microwave Sticky Toffee Pudding here and our Sticky Toffee Pudding Traybake here).
Dates add a deliciously deep caramel base to both above recipes, and when it comes to date scones, they add a lovely sweet caramel flavour.
Why make Date Scones?
As we mentioned, Date scones are very popular in New Zealand, where Sonja grew up, and she has been enjoying them all her life as they’re a favourite of her Mums. So adding them to Scottish Scran seemed like a no-brainer.
If you haven’t tried them before, this is the Date Scones recipe for you!
It adds a little point of difference if you’re planning to make scones to share, and you might surprise someone who isn’t so sure on the delicious date.
Date Scones in Scotland
It’s thought that Scones were first made in Scotland in the 1500s, but these wouldn’t have looked like something to which you’d have added clotted cream! They were more like a Bannock than Fruit Scones.
You’ll also find Date Scones in many Scottish cafes, especially in Edinburgh, where tea and scones are very popular.
We’ve had them in the excellent Wellington Coffee shop and superb Kilimanjaro Cafe. Both are well worth a visit.
Why haven’t I tried Date Scones before?
As well as being more prevalent in different countries, Date Scones get overshadowed by their more fruity cousins. People generally like to eat what they know, after all. We can’t deny picking a fruit scone layered with jam and clotted cream over a tasty date Scone more than once!
If you’d rather make fruit scones than date scones, we can still help you! Here’s Sonja’s Grandma’s family recipe for you.
So now you know all about Dates Scones and why you may or may not have tried them before!
It’s time to give making them ago.
Things you’ll need to make Date Scones
- Large Bowl
- Pastry Blender – this makes forming breadcrumbs with the flour and butter much easier
- Scone Cutter – basically a biscuit cutter, or you can use large glass
- Large baking tray
- Butter Knife
Ingredients for Date Scones
Yield: 12-16 Scones
Prep Time: 20 minutes
Cooking Time: 12-15 minutes
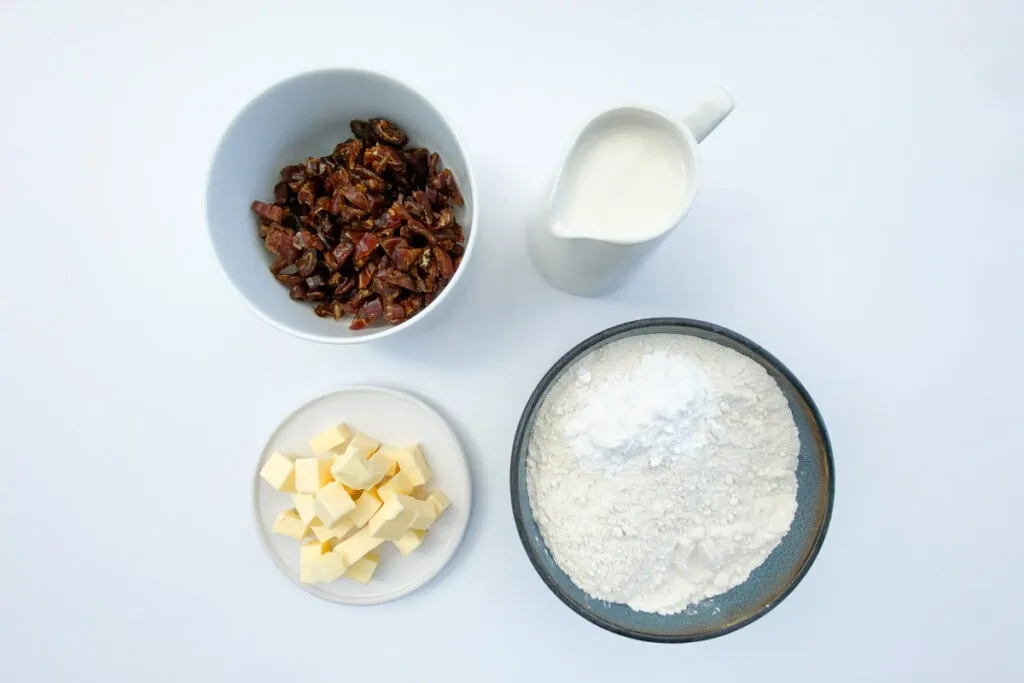
- 500g (4 Cups) Self Raising Flour
- 4 tsp Baking Powder
- 100g (1/4 Cup) Cold Cubed Butter
- 350ml (1.5 Cups) Milk
- 175g (1 Cup) Chopped Dates
- 1 tsp Cinnamon (*optional)
How to Make Date Scones – Step by Step Method
Pre-heat the oven to 180C Fan or 200C normal (350/390F)
Sift flour and baking powder into a large bowl.
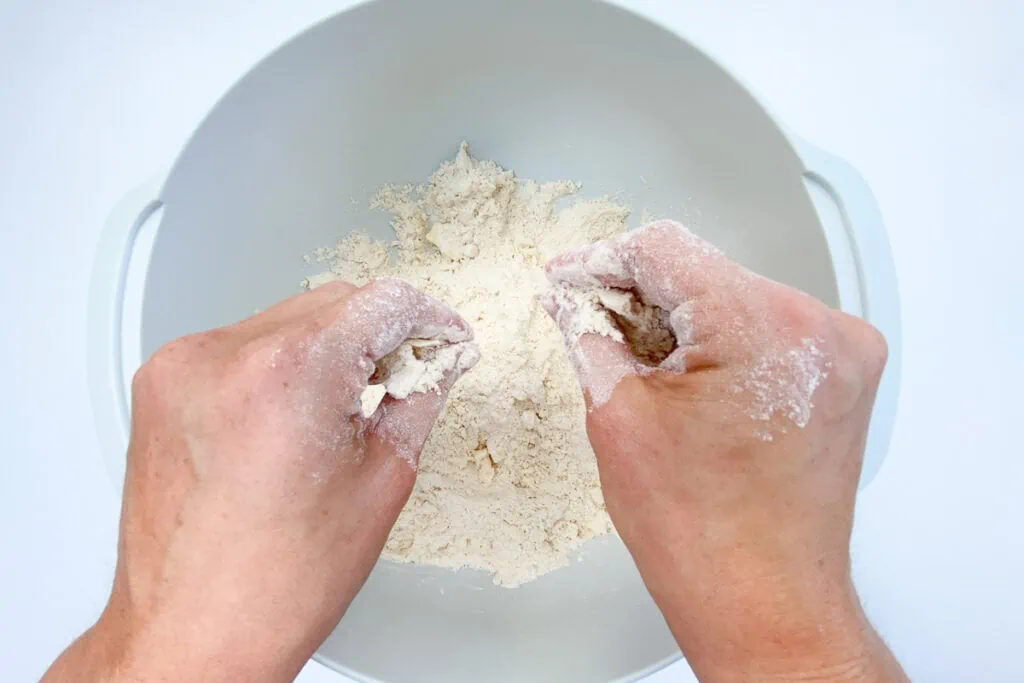
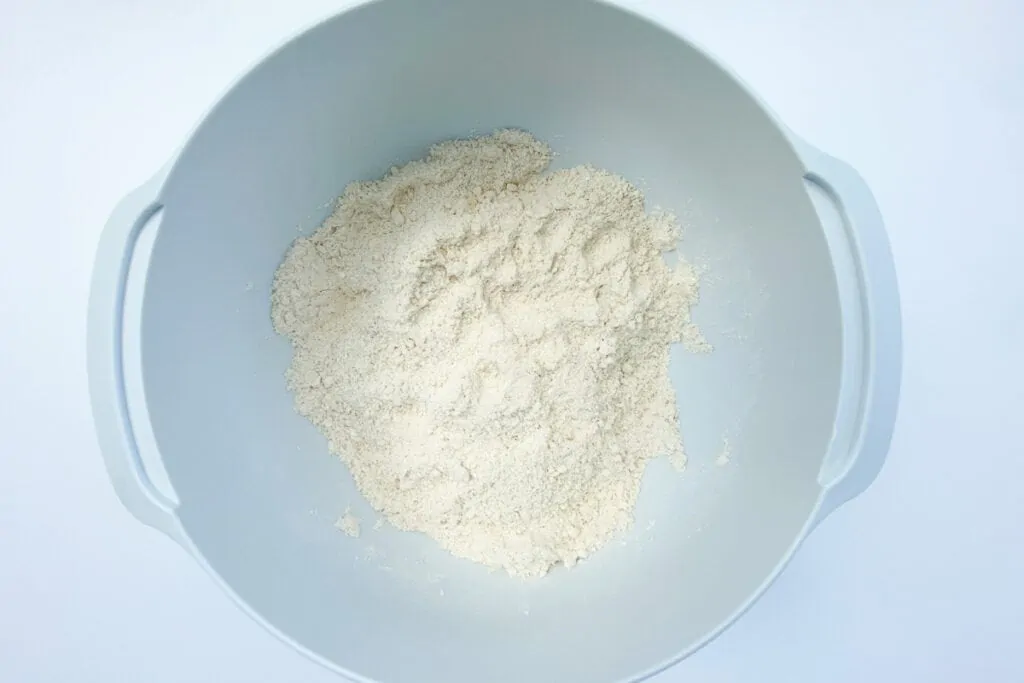
Rub the butter into the flour with fingertips until it resembles breadcrumbs. Alternatively, use a pastry cutter to start the process and switch to fingertips once you have cut the butter through the flour and it is starting to resemble large breadcrumbs.
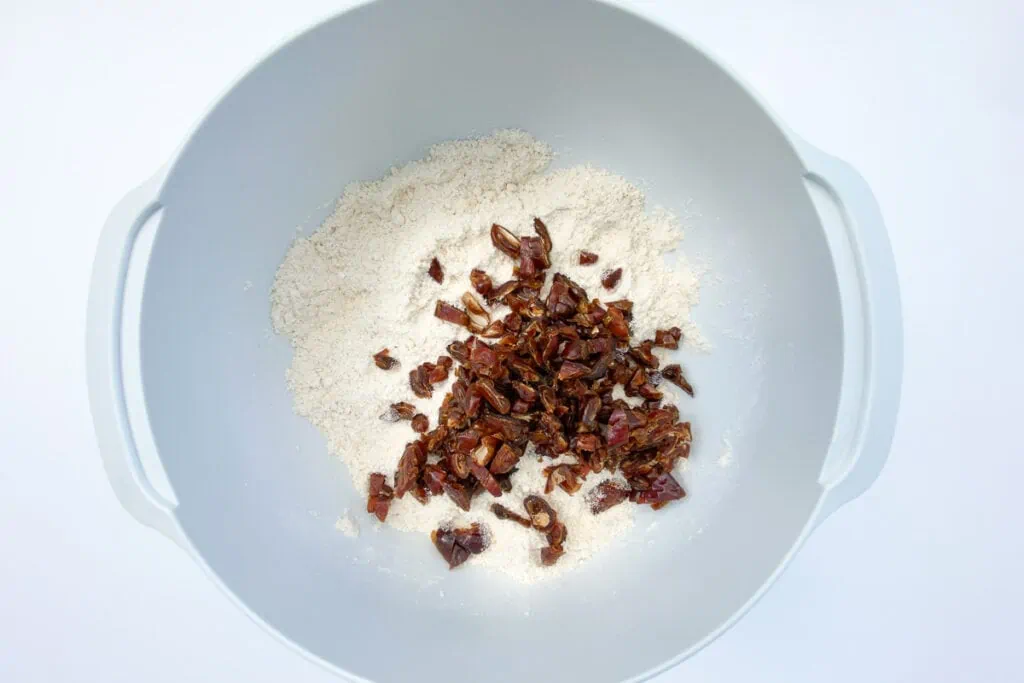
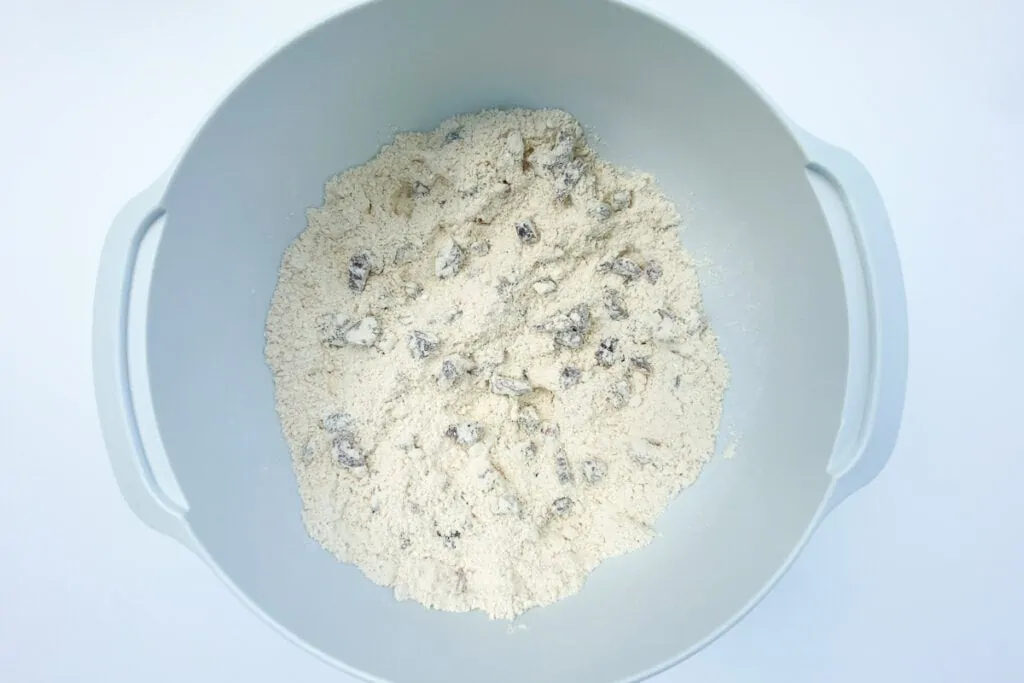
Mix in the chopped dates and optional cinnamon. Alternatively, use a food processor and mix the dates into the flour and butter mixture. This will result in very small pieces of dates spread throughout the scones.
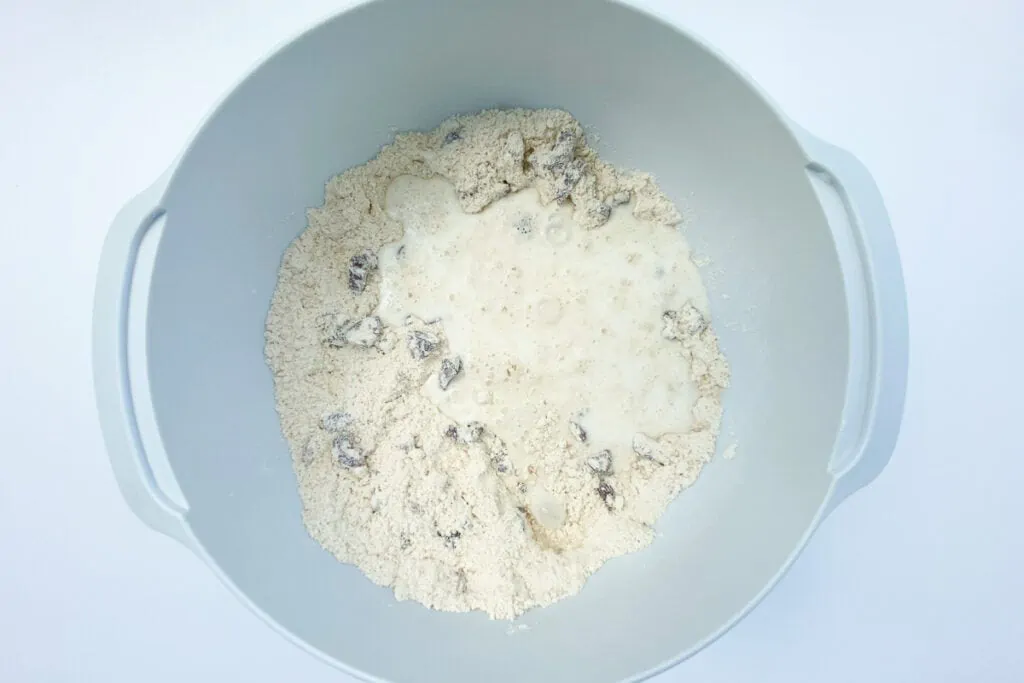
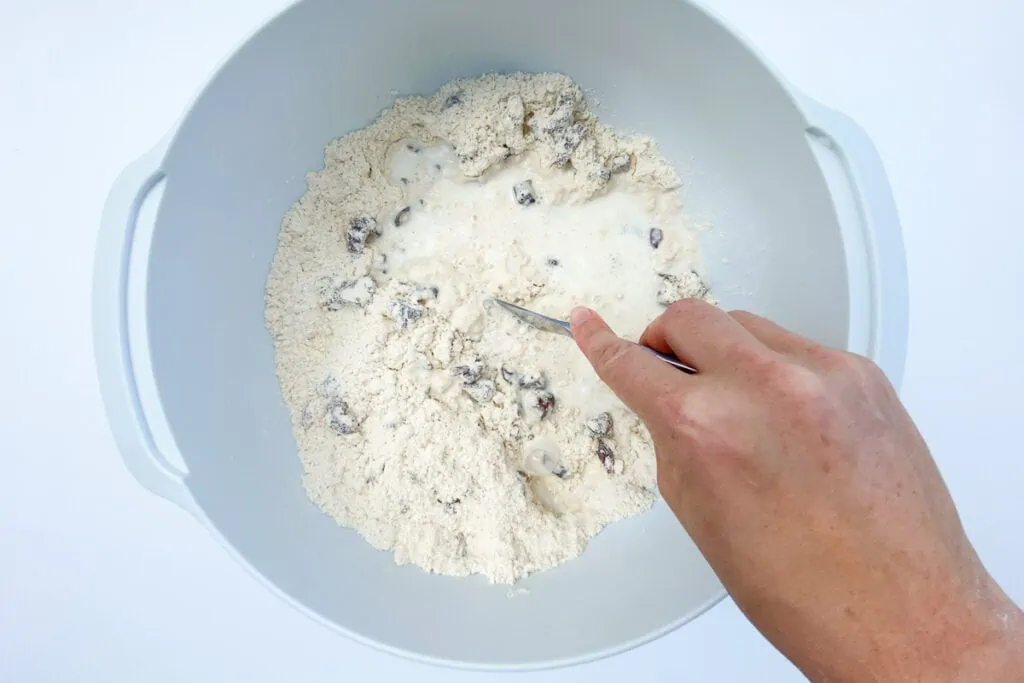
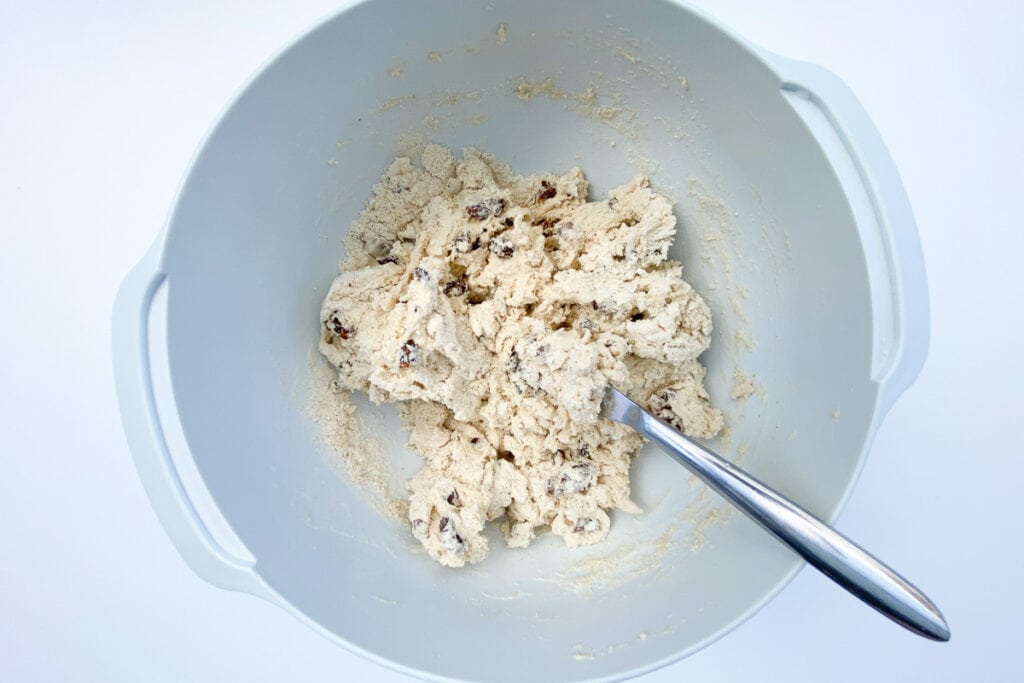
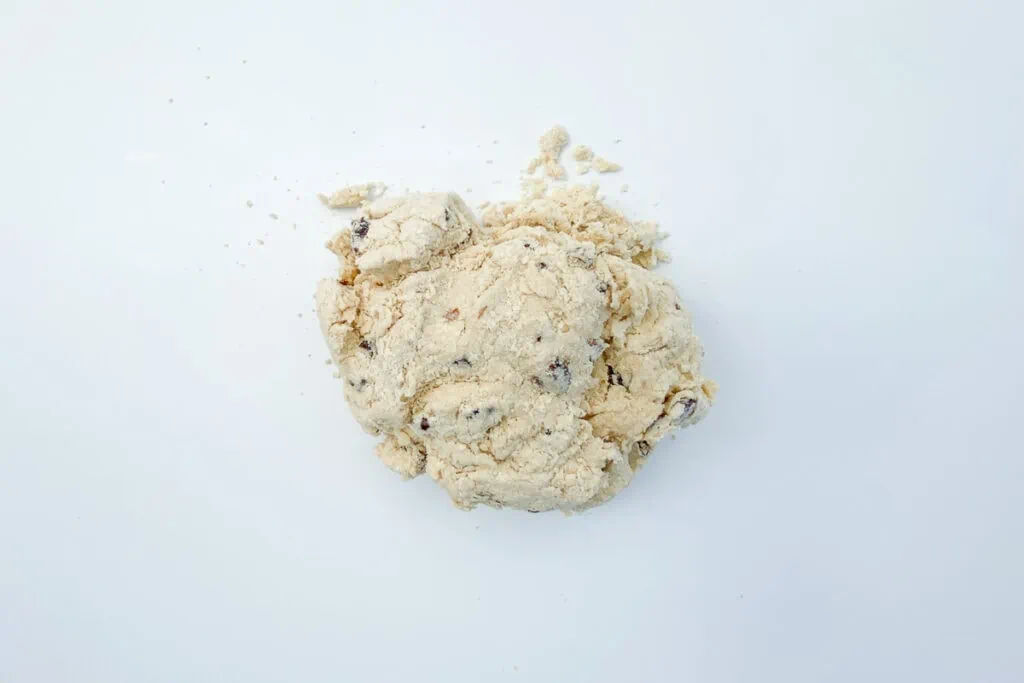
Make a well in the centre of the mixture and add the milk. Use a butterknife to bring the mixture together as much as possible.
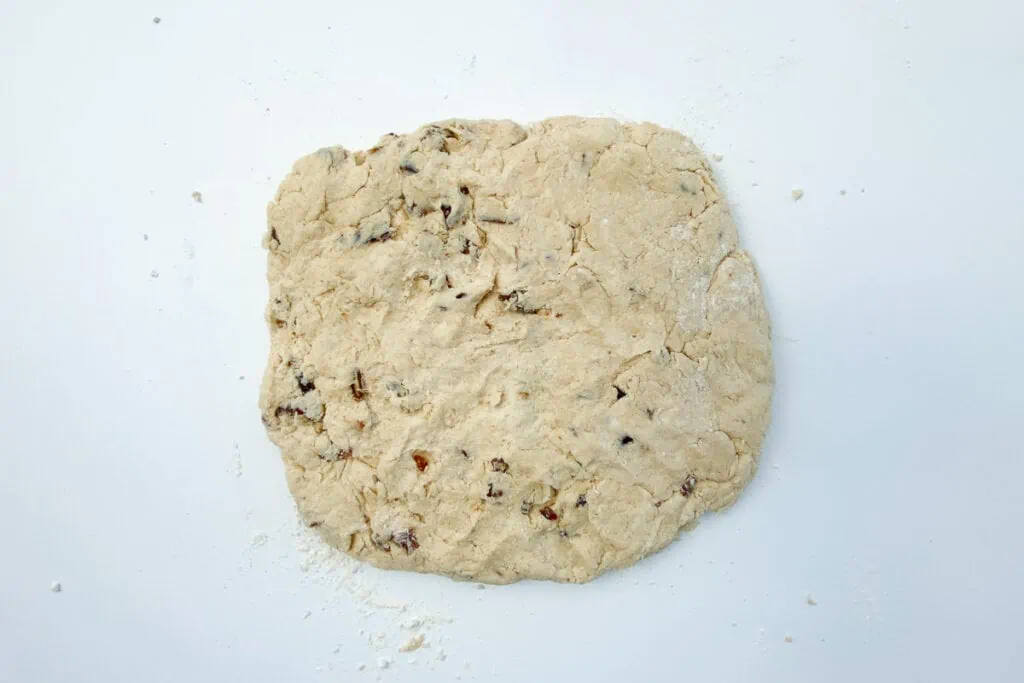
Turn the mixture onto a lightly floured surface and use fingertips to ensure it’s fully mixed into a dough, then gently push it out so it is around 1-2 inches thick, depending on how large you’d like your scones to be.
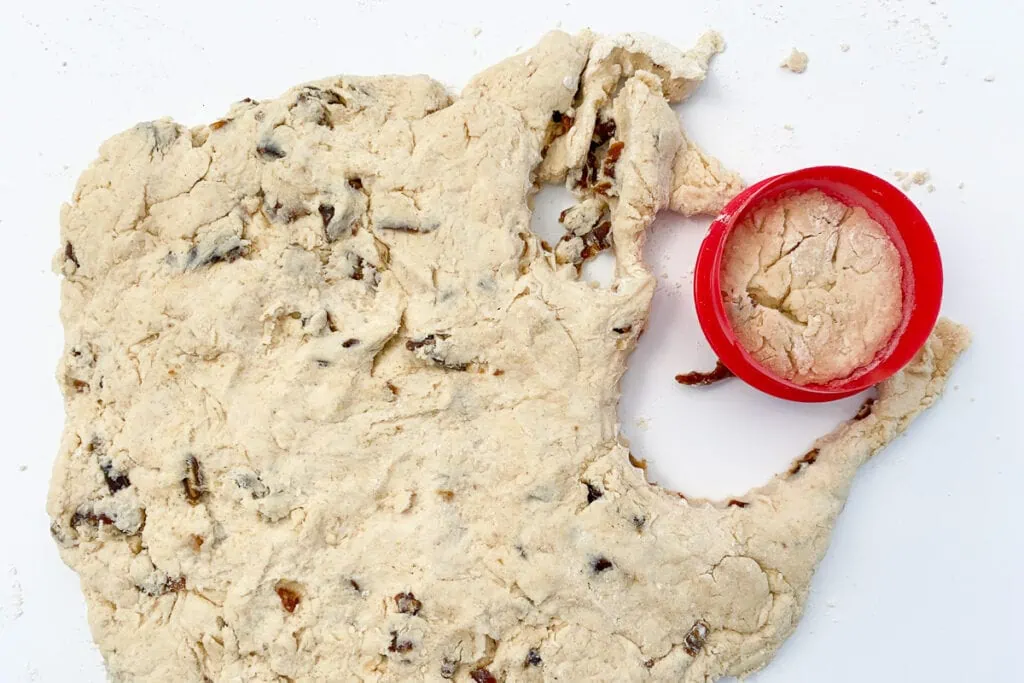
Use a scone cutter or glass dipped in flour to cut the dough into circles.
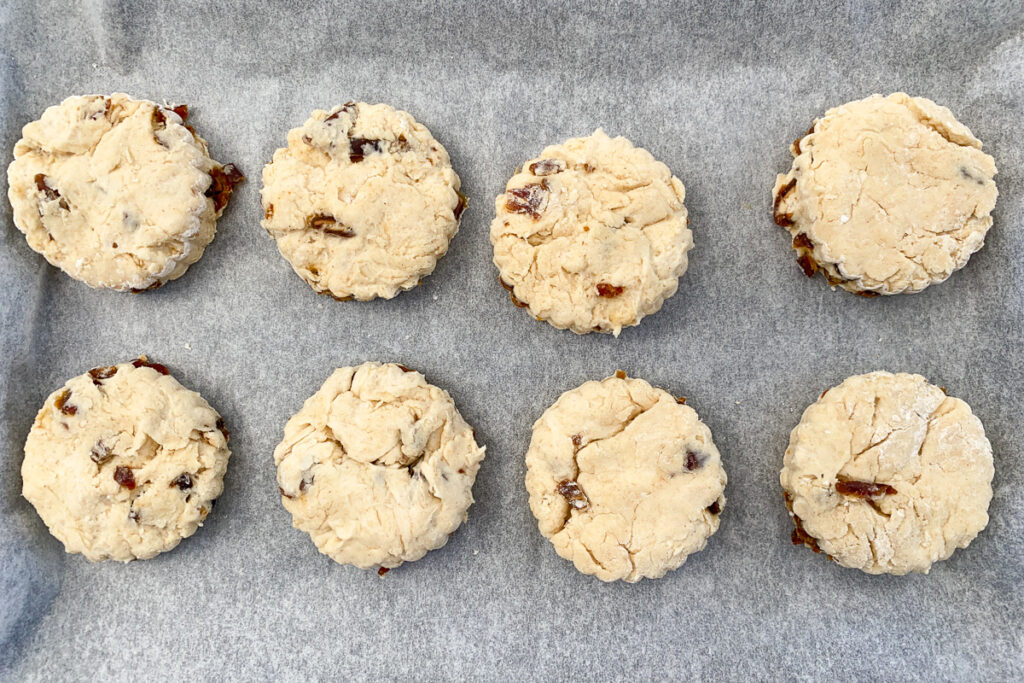
Place on a baking tray covered with baking paper or lightly floured, evenly spaced, and brush the tops with milk (optional).
Bake for approximately 12-15 minutes until the scone sounds hollow when tapped on the bottom.
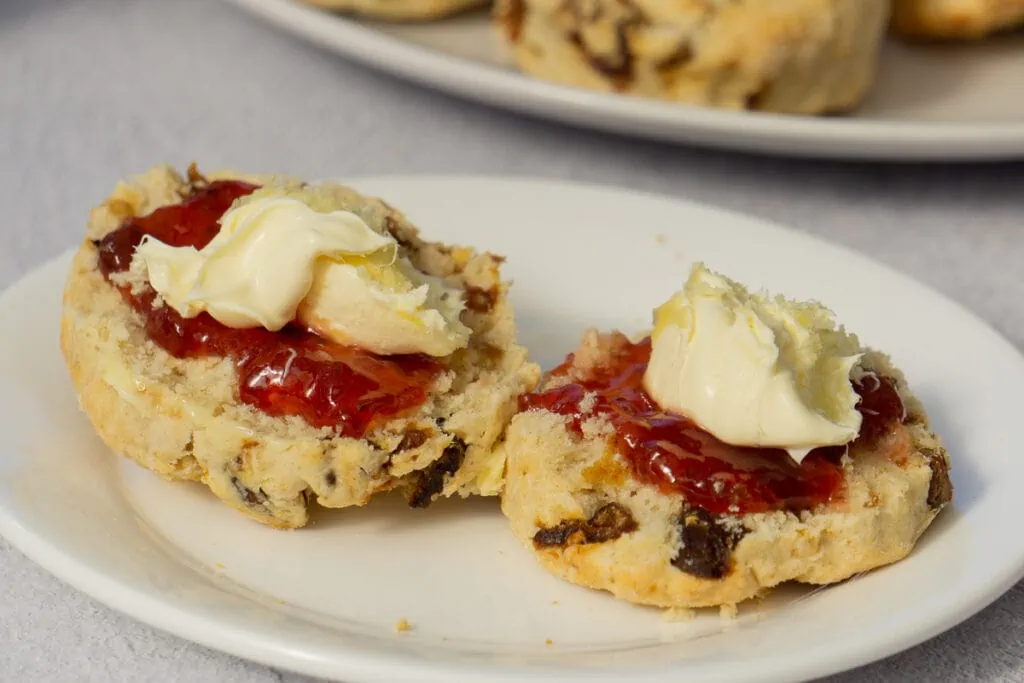
Place on a wire rack to cool, or serve warm with butter, or for extra sweetness, with jam and cream.
Top Tips for Baking Scones
- Use COLD butter. Don’t be tempted to melt it or use room-temperature butter.
- Use a dough cutter or rub into flour quickly with cold fingers.
- Use COLD milk.
- Handle as little as possible. Stir first with a butterknife or fork, and then only turn out onto a floured surface when necessary.
- Use fingertips to press gently into shape.
- Don’t twist the scone cutter, or you will have wonky scones.
- Cut at least 1 inch thick or more if you want higher scones.
- Tap the bottom of a scone when you think they’re done; if it sounds hollow, they’re cooked through.
Should my Date Scones have Chopped Dates or Blended Dates?
The choice is yours. Some people like chopped dates in their date scones, so they find a little fruit in various mouthfuls, giving a burst of flavour.
Others prefer the dates blended into the mixture. Blending means the flavour of the fruit spreads more throughout and resembles Dates less.
We prefer chopped fruit in our date scones, but as we said, the choice is yours!

How to serve Dates Scones
We suggest serving Date Scones warm with a light spread of butter to add a little salt to the sweetness of the dates.
You can also serve them with jam and cream but may want to go for a less sweet jam, like rhubarb or boysenberry. You can even try marmalade!
How do you store Date Scones?
You should store Date Scones in an air-tight container and keep them at room temperature. We use a cake tin. They will stay fresh for 2-3 days, but your date scones are best eaten on the day of baking. After that, toasting them and spreading them with butter is delicious!
Can you freeze Date Scones?
Yes, you can freeze Date Scones. Put them in an air-tight bag and squeeze out as much air as possible.
To defrost, take them out of the freezer and keep them covered at room temperature until thawed.
Alternatively, if you can’t wait, you can microwave your frozen date scones 10 secs at a time to ensure you don’t overdo it!
Can they be made Gluten-free?
You can make this recipe Gluten-free by switching the flour out for a gluten-free version.
Simple Date Scone Recipe
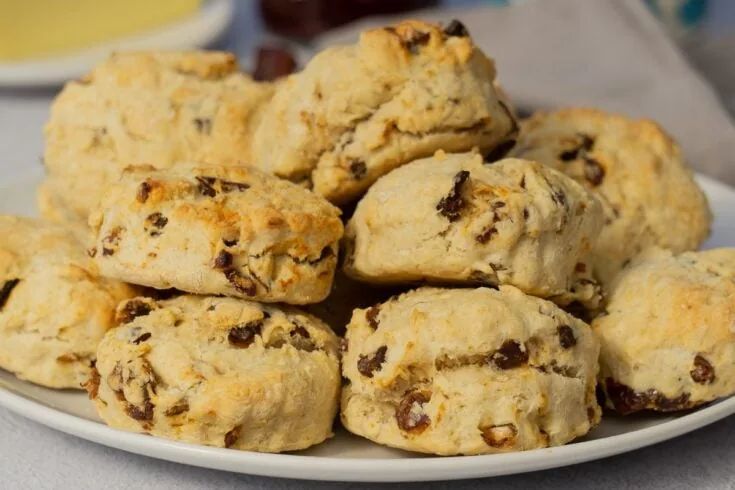
Dates scones are deliciously sweet, and made, unsurprisingly, with dates in place of the usual sultanas found in fruit scones. They are scrumptious, even a little sticky, with a caramel, almost malty flavour.
Ingredients
- 500g (4 Cups) Self Raising Flour
- 4 tsp Baking Powder
- 100g (1/4 Cup) Cold Cubed Butter
- 350ml (1.5 Cups) Milk
- 175g (1 Cup) Chopped Dates
- 1 tsp Cinnamon* (*optional)
Instructions
- Pre-heat the oven to 180C Fan or 200C normal (350/390F)
- Sift flour and baking powder into a large bowl
- Rub the butter into the flour with fingertips until it resembles breadcrumbs. Alternatively, use a pastry cutter to start the process and switch to fingertips once you have cut the butter through the flour and it is starting to resemble large breadcrumbs.
- Mix in the chopped dates and optional cinnamon. Alternatively, use a food processor and mix the dates into the flour and butter mixture. This will result in very small pieces of dates spread throughout the scones.
- Make a well in the centre of the mixture and add the milk. Use a butterknife to bring the mixture together as much as possible.
- Turn the mixture onto a lightly floured surface and use fingertips to ensure it's fully mixed into a dough, then gently push it out so it is around 1-2 inches thick, depending on how large you'd like your scones to be.
- Use a scone cutter or glass dipped in flour to cut the dough into circles.
- Place on a baking tray covered with baking paper or lightly floured, evenly spaced, and brush the tops with milk (optional).
- Bake for approximately 12-15 minutes until the scone sounds hollow when tapped on the bottom.
- Place on a wire rack to cool, or serve warm with butter.
Notes
Should my Date Scones have Chopped Dates or Blended Dates?
The choice is yours. Some people like chopped dates in their date scones, so they find a little fruit in various mouthfuls, giving a burst of flavour.
Others prefer the dates blended into the mixture. Blending means the flavour of the fruit spreads more throughout and resembles Dates less.
Nutrition Information:
Yield:
16Serving Size:
1Amount Per Serving: Calories: 199Total Fat: 6gSaturated Fat: 4gTrans Fat: 0gUnsaturated Fat: 2gCholesterol: 15mgSodium: 546mgCarbohydrates: 33gFiber: 2gSugar: 8gProtein: 4g
These values are an estimate only.




I’m 80 and from south Walesand have always made date scones. I assumed everyone knew the recipe. My mother and grandmother also made them so probably because Cardiff imported rare fruit and spices dates were easily obtained. We always used mixed spices instead of cinnamon.
Thanks for the tip Lynda