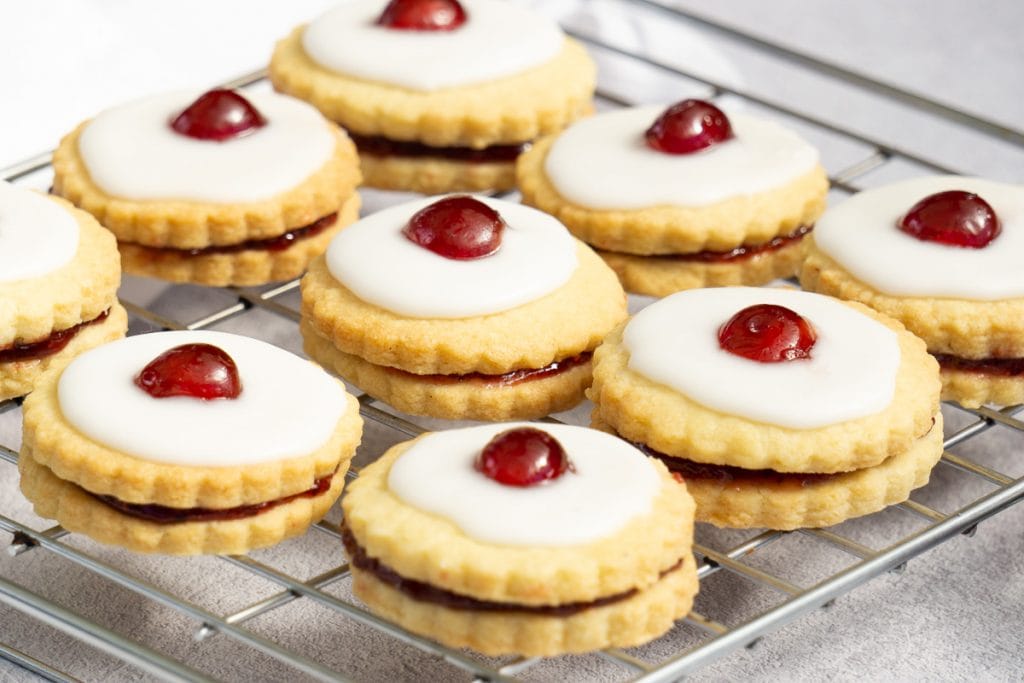
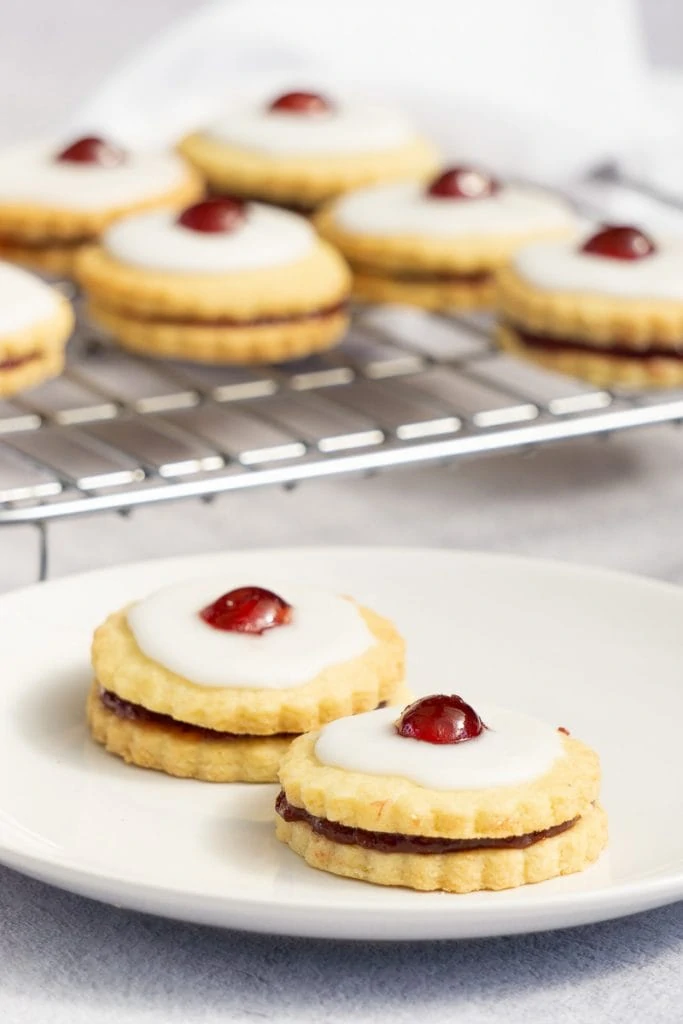
Want to know how to make Empire Biscuits? You’ve come to the right place; we have the perfect recipe for you! These classic sweet treats are made of two pieces of shortbread sandwiched together with jam in the middle. They are then topped with icing and a glacé cherry or sometimes a gummy sweet.
Empire Biscuits actually go by many names, including but not limited to Imperial Biscuits, Deutsch Biscuits, German Biscuits, Belgian Biscuits (in New Zealand, although these can be a little different too), Linzer Biscuits, Double Biscuits, and even Freedom Biscuits!
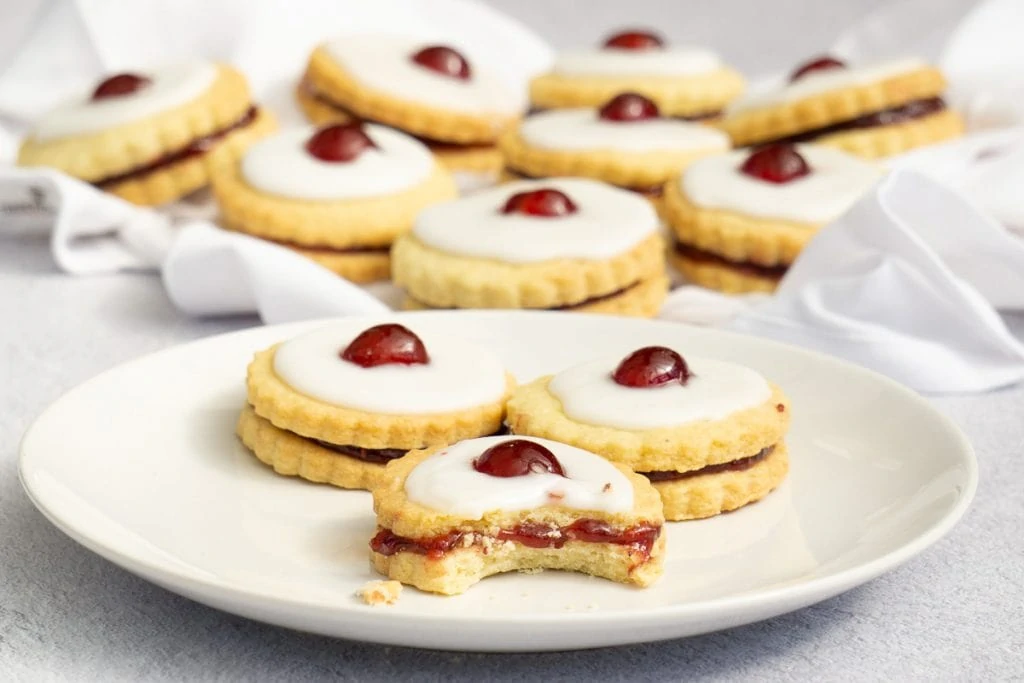
You might be able to tell from these names that Empire Biscuits and their recipe didn’t exactly originate in Scotland, but it is hugely popular here. So much so that it’s found in most bakeries, supermarkets, and it’s on the Greggs regional menu, like the Scottish Macaroni Pie used to be!
Scroll to the end or use the table of contents to be taken straight to the Printable Recipe Card.
Why are they called Empire Biscuits?
The Empire Biscuit was originally called many of the names above, including the German Biscuit or Deutsch Biscuit, but it’s said that the outbreak of WWI led to a more patriotic name instead, given this was the time of the British Empire.
The name stuck in Scotland, although in other locations it’s still sometimes called a German Biscuit or another variation.
One Scottish Scran Facebook follower even shared that they found them in a local Scottish bakery under the name Freedom Biscuits… a not-so-subtle nod to Scottish independence, maybe? Either way, they still tasted great, apparently!
Things you’ll need to make Empire Biscuits
- Cookie-cutter or glass to cut the dough
- Large baking tray
Ingredients for Empire Biscuits
- 300g Plain flour (2 cups)
- 200g Salted Butter ( 1 cup)
- 100g Caster Sugar (1/2 cup)
- 1 Large Egg
- Jar of Raspberry Jam (we like MacKays)
- 180g Icing Sugar (Confectioners Sugar) (1.5 cups)
- Glace/Candied Cherries for decorating
How to make Empire Biscuits – Step by step method
This Empire Biscuits recipe is actually pretty easy to make! It just requires a few different stages to get to the finished product.
The biscuit used is usually shortbread, but with the addition of an egg. We used the same recipe and method as our Petticoat Tails Shortbread but cut the dough, using a cookie cutter, into individual pieces to cook.
When making shortbread you always want to try and limit any spread because the biscuits cook in the oven, and this is especially true when making it for Empire Biscuits as you want nice even biscuits.
Making the Shortbread
Preheat the oven to 200 Celcius or 400 Fahrenheit, or 180C/350F for a fan oven.
Start by beating the butter until it is softened and just creamy, but not too fluffed up or airy. Then add the sugar and mix until just combined. You want the sugar to dissolve into the butter so a caster or fine sugar is best.
Next, add the flour along with a beaten egg and mix carefully until the dough begins to form clumps. At this point, you can get your hands into it and bring the dough together.
Tip onto a lightly floured surface and roll the dough out until it’s around 5mm or about a 1/4 inch in thickness.
You can use a cookie cutter like this one, or the rim of a glass to cut the dough into separate biscuits.
Use a spatula or a pastry/dough scraper to move the biscuits onto the baking tray, lined with baking paper or a reusable liner.
If you have time, chill for about 20 minutes in the fridge to help stop spreading.
Bake for approximately 20 minutes. The biscuits will stay soft but will start to brown slightly and that’s when they’re ready.
Take them out of the oven and allow to cool.
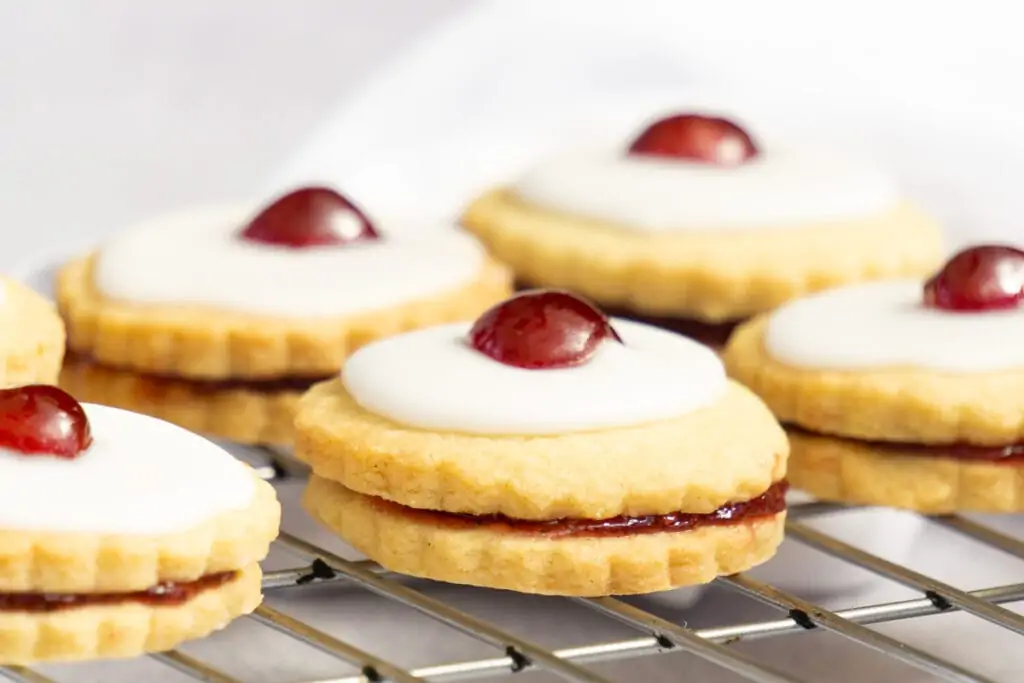
Decorating the Empire biscuits
Match the biscuits into pairs. Spread jam over the top of one biscuit to form the base, then press the other biscuit on to the jam gently. Repeat for all the biscuits.
Mix the icing/confectioners sugar with just enough milk or water to form a thick but runny consistency. We start with a couple of tablespoons of liquid and then slowly added more until it was a suitable thickness.
You can either spread the icing with a teaspoon/knife or use a dipping method, holding the biscuit gently by the base and dip the top into the icing.
If you’re using a spoon or knife then start with a small amount in the middle of the biscuit and slowly spread it out, leaving a gap before the edge of the biscuit in case of extra spread.
Otherwise, dip the biscuit top side down into the icing to coat it, allow any excess to drip off, and then quickly flip over and pit back on a tray to allow it to harden. You want to try and avoid the icing running down the sides of the biscuit.
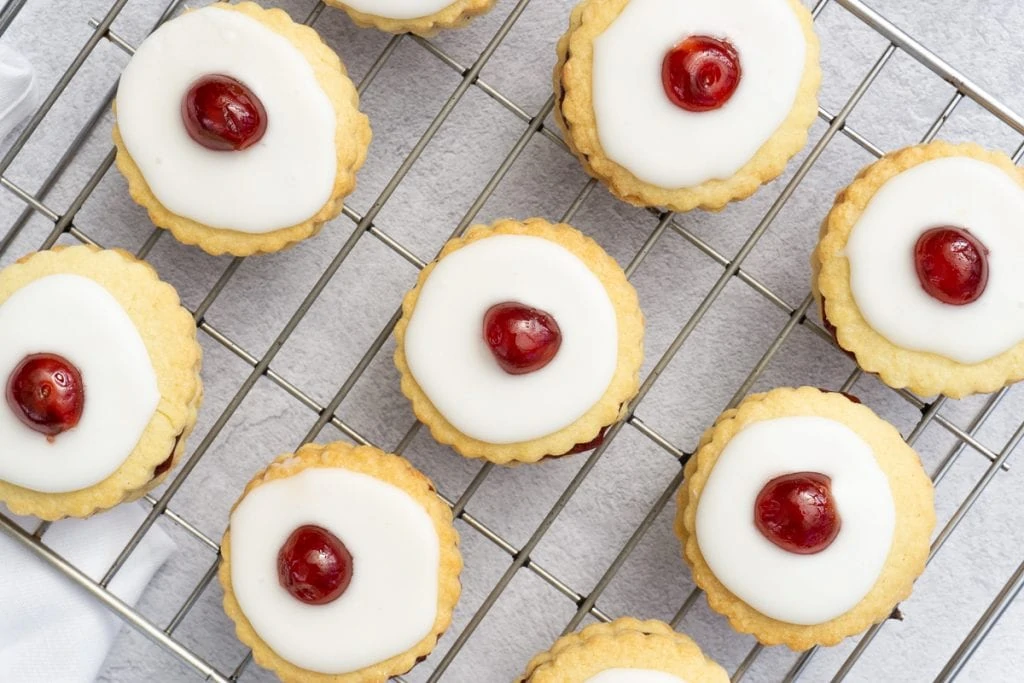
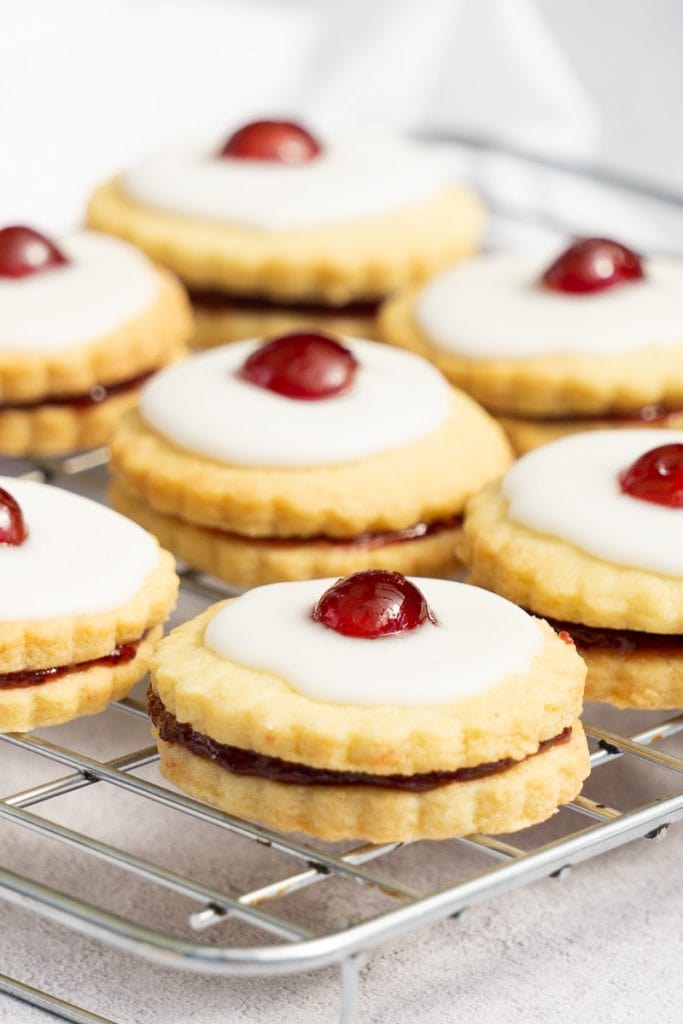
Place half a glace/candied cherry in the centre of the Empire biscuits.
Allow the icing to harden and then eat!
Loved this recipe?
Join us in our Scottish Scran Facebook Group for more recipes, stories and chat
Learn more
Empire Biscuits Printable Recipe Card
How to Make Empire Biscuits
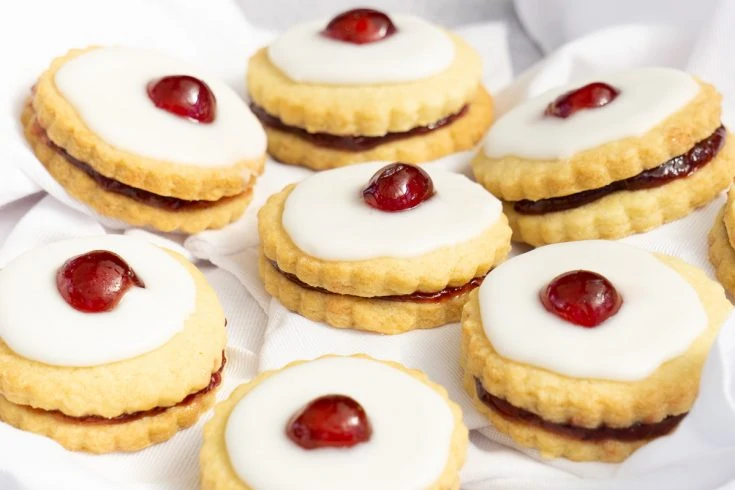
Empire Biscuits are a Scottish classic! They may not have been invented here but they are a favourite and have stood the test of time, appearing in bakeries and supermarkets across the country. Now you can use this easy Empire Biscuit recipe to make your own!
Ingredients
- 300g Plain flour (2 cups)
- 200g Salted Butter ( 1 cup)
- 100g Caster Sugar (1/2 cup)
- Large Egg
- Raspberry Jam (we like MacKays)
- 180g Icing Sugar (Confectioners Sugar) (1.5 cups)
- Glace/Candied Cherries for decorating
Instructions
- Preheat the oven to 200 Celcius or 400 Fahrenheit, or 180C/350F for a fan oven.
- Start by beating the butter until it is softened just creamy, but not too fluffed up or airy. Then add the sugar and mix until just combined. You want the sugar to dissolve into the butter to a caster or fine sugar is best.
- Next, add the flour along with a beaten egg and mix carefully until the dough begins to form clumps. At this point, you can get your hands into it and bring the dough together.
- Tip onto a lightly floured surface and roll the dough out until it’s around 5mm or about a 1/4 inch in thickness.
- You can use a cookie cutter like this one, or the rim of a glass to cut the dough into separate biscuits.
Use a spatula or a pastry/dough scraper to move the biscuits onto the baking tray, lined with baking paper or a reusable liner. - If you have time, chill for about 20 minutes in the fridge to help stop spreading.
- Bake for approximately 20 minutes. The biscuits will stay soft but will start to town slightly and that’s when they’re ready. Take them out of the oven and allow to cool.
- Match the biscuits into pairs. Spread jam over the top of the biscuit that will be the base, and press the biscuit for the top gently down onto it.
- Mix the icing/confectioners sugar with just enough milk or water to form a thick but runny consistency. We start with a couple of tablespoons and then slowly add more until it’s ready. You can either spread the icing with a teaspoon/knife or use the dipping method. If you’re using a spoon or knife then start with a small amount in the middle of the biscuit and slowly spread it out, leaving a gap before the edge of the biscuit in case of extra spread. Otherwise, dip the biscuit top side down into the icing to coat it, allow any excess to drip off, and then quickly flip over and pit back on a tray to allow it to harden. You want to try and avoid the icing running down the sides of the biscuit.
- Place half a glace/candied cherry in the centre of the biscuit. Allow the icing to harden and then eat!
Nutrition Information:
Yield:
12Serving Size:
1Amount Per Serving: Calories: 313Total Fat: 14gSaturated Fat: 9gTrans Fat: 1gUnsaturated Fat: 4gCholesterol: 51mgSodium: 115mgCarbohydrates: 44gFiber: 1gSugar: 24gProtein: 3g
The nutritional data in this recipe is provided by a third party and these values are automatically calculated and offered for guidance only. Their accuracy is not guaranteed.
Other Biscuit and Slice Recipes to Try
- Classic Abernethy Biscuits Recipe
- The Most Excellent NYC Mini Egg Cookies Recipe
- 4 Ingredient Chocolate Bourbon Biscuit Cake Recipe
- Simple Almond Slice Recipe
- Paradise Slice Recipe
- Easy Chocolate Tiffin Recipe
Pin for later!


Just made these. So beautiful and delicious! Thank you for the recipe.
Thank you so much Patsy, you’re very kind!
I’m NOT a baker lol, but in memory of my sweet daughter (it’s her birthday today) I am tackling these…really looking forward to seeing what a cookie that’s towning is doing :-)…Thank you for this and all the other Scottish recipes you give us!!
It’s comments like these that make our hard work worthwhile. 🙂
Proof read your recipe, there are mistakes littered throughout your article.
eg “but will start to town slightly”
Thanks OCD Proof reader, we hope the biscuits tasted okay for you! 🙂
Oh my.
Just made these but cut out into love hearts for valentines for the kids ❤️
(Wish I could add a photo on here-they look fab)
What a great idea! We’ll have to try this with our little one.
My mum tried to teach me baking…. I sucked. Finally going to attempt these for my first baking exercise in literal years. Hopefully, even I can get this right
All of our recipes have been created through trial and error, Keith. We’ve 100% sucked at times too. Keep trying and you’ll be great!
These cookies are simple.i think the most time consuming is making sure thickness of every cookie is the same shape and size
To make them EVEN try this. Find 2 dowels (round pieces of wood like a rolling pin but thinner (as thick as the dough is supposed to be) and no handles. Put your dough on a flat surface and put the dowels on either side. Now roll out the dough gently using the dowels to rest the rolling pin on. Roll out gently. Your dough should then be the same thickness as the dowels are. I use this when making short bread but I put the dough on a cookie sheet and use the sides of it to put the rolling pin on. I am having a hard time trying to explain this and wish I could use a picture. Hope you understand.
We understand what you mean! Definitely a good trick. We actually also have a rolling pin that had bands that go on each end so you can roll it out to the desired thickness of the bands (they look a bit like thick rubber bands). I believe it’s often used in cake-making for fondant icing!
For anyone trying this recipe with fan oven at 180c beware of the 20 mins bake time for the biscuits, way too long! They will turn out looking like chocolate biscuits!!
Eek that’s no good at all! We did use a fan oven as well at that temperature but ovens can vary wildly so we suggest keeping a close eye for when they start to turn a light brown (definitely not chocolate colour!). Hope you manage to make another batch 🙂
Empire biscuits are my fave so decided to tackle this recipe and it’s a scoosh Made then twice, once using Doves Farm Freee gluten free plain flour and they were just as successful. Fab recipe keep sharing the love ❤️
Thanks so much! Glad you liked it and it worked for you. 🙂
Made these at the weekend, they were delicious. Didn’t have any butter so used Stork block & came out fine. Cooked for 12 mins at 160 degrees fan which was just right in my oven, as didn’t want them to burn. Used freeze dried raspberries on top as not a fan of glacé cherries! Will definitely make again 😊
I have been using my grandmother’s recipe for years, only difference in the shortbread is an addition of cream of tartar. I made Empire Biscuits for my daughter’s wedding. I wish I could share a photo. I cut them in heart shapes and decorated them with a lacey designs. If I do say so myself, they were spectacular.
They sound amazing! What an excellent gift on such a happy day!
Greetings from across the pond! I love your blog and love this recipe! I’ve made them several times for birthdays, potlucks and a few holidays so far and they are always a hit. I’ve made them traditionally to your post and have tweaked for allergies including GF and Dairy. The favorite GF flour that came the closest to your shortbread was cassava flour and Earth Balance “butter” spread (not sure if that’s available for everyone) was the best butter substitute. Thank you so much for sharing your recipes and stories. I can’t wait to work my way through your archives!
This made us both smile, thank you!
Could anyone tell me how many empire biscuits this recipe makes? Thankyou 😊
I think this made 12 for us! But it depends on the size of the cookie cutter you have.
Are they ok to go in the freezer either before or after baking?
Yes you could easily freeze these before baking, just separate them with baking paper. You can also freeze after baking but BEFORE decorating. Make sure they’re fully cooled and place them in an airtight container. Allow them to thaw fully and then decorate.
How far in advance can these beautiful biscuits be made??
I’d say they’re best for up to 4 days after!
I love your recipes and I love these cookies!,here in Canada we call them Jam jams and probably a few more names too
Thanks so much!
Great recipe. I am very much an amateur baker and this was my first time making empire biscuits. Really easy to follow and turned out delicious.
That’s great!
Hi,
Just read your newsletter from the 25th July 2024 about baking biscuits on a rainy day.
When my tribe of 4 were younger (all flown the nest now) we would bake biscuits on rainy days in the school holidays. When they were little they choose the recipes by what the biscuits looked like or one they fancied. As they got older (the teenage years) they still wanted to bake biscuits but now they chose the recipes by the number of biscuits it would make. Yes we would end more than 400 biscuits, and they would all disapear within 2 or 3 days.
400 BISCUITS! Wow. Thanks for sharing this piece of your family and it’s nice to know someone reads the news letter. Phil